⚡ Key Takeaways
- As it builds up on cooler fins and fan blades, it acts like a blanket that traps heat and forces your fans to spin faster and louder to compensate.
- You don't need expensive equipment to clean a PC effectively.
- Start by powering down your PC completely and unplugging it from the wall.
- Always hold fan blades still when blowing compressed air at them, because spinning a fan beyond its rated speed can generate a current that damages it.
Dust is the silent enemy of every gaming PC. Over months of use, it accumulates on fans, heatsinks, and filters, choking airflow and slowly pushing your temperatures higher. Learning how to clean your PC properly is one of the most valuable maintenance skills an owner can have, and it costs almost nothing. A clean machine runs cooler, quieter, and more reliably, and the whole process takes less than an hour. This guide walks you through cleaning your gaming PC the right way, step by step, without risking damage to your components.
Why Cleaning Your PC Matters
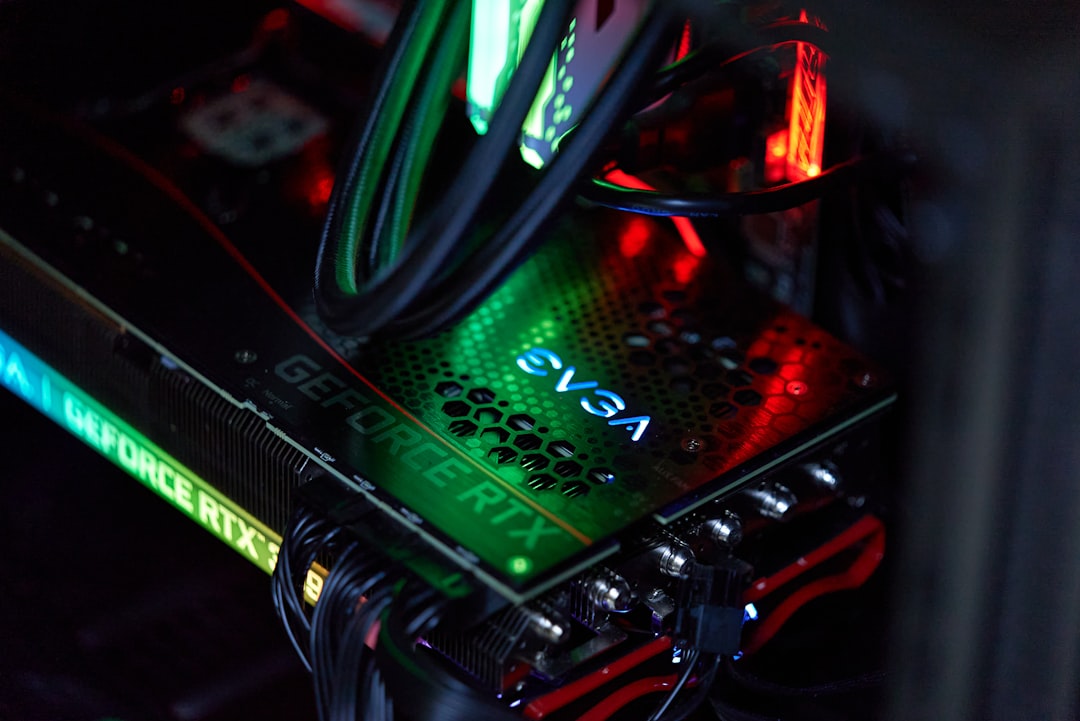
Dust is more than an eyesore. As it builds up on cooler fins and fan blades, it acts like a blanket that traps heat and forces your fans to spin faster and louder to compensate. The result is higher component temperatures, increased noise, and in severe cases, thermal throttling that reduces your performance. A neglected PC can run noticeably hotter than the same machine after a thorough cleaning.
Regular cleaning protects your investment. By keeping airflow clear, you help your CPU and GPU stay cool, which preserves performance and extends the life of your hardware. It’s preventative maintenance that pays off in a quieter, faster, longer-lasting system.
What You’ll Need
You don’t need expensive equipment to clean a PC effectively. A few inexpensive items cover everything.
- Compressed air — canned air or an electric air duster blows dust off components.
- Microfiber cloth — for wiping surfaces and the glass side panel.
- Soft brush — a clean paintbrush or anti-static brush loosens stubborn dust.
- Isopropyl alcohol — for cleaning thermal paste residue if you go deeper.
- A Phillips screwdriver — to open panels and remove components if needed.
An electric air duster is a worthwhile upgrade over disposable cans because it never runs out and provides consistent pressure. Either works fine for routine cleaning.
Step-by-Step Cleaning Process
Start by powering down your PC completely and unplugging it from the wall. Press the power button once after unplugging to discharge any residual electricity. Move the machine to a well-ventilated area or outdoors, since you’ll be blowing a surprising amount of dust into the air.
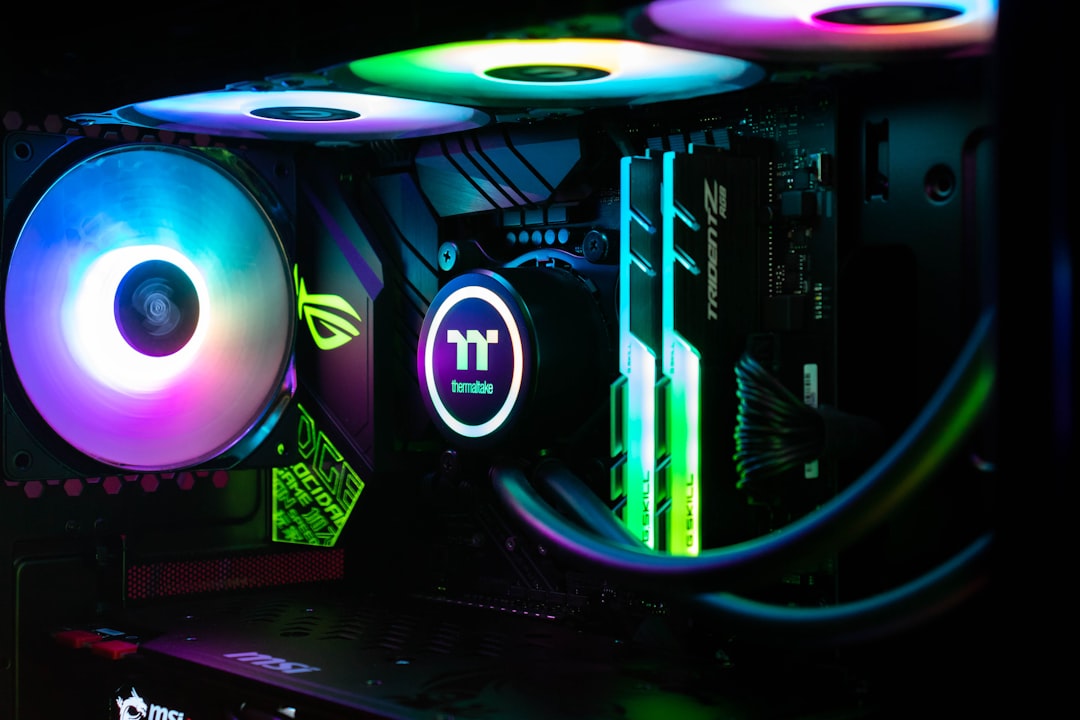
Open the side panel and begin with the dust filters, which are usually located at the front, top, and bottom of the case. These trap the most dust and are designed to be removed and rinsed or brushed clean. Next, use short bursts of compressed air to blow dust off the case fans, CPU cooler, and graphics card. Hold the fan blades still with a finger while spraying so they don’t spin too fast and generate damaging voltage.
Work from the top down so dust falls away from the components you’ve already cleaned. Pay special attention to the dense fins of your CPU cooler and the GPU’s heatsink, as these are the most critical areas for airflow. Finish by wiping down the interior surfaces and the glass panel with a microfiber cloth.
Cleaning Frequency Guide
| Environment | Cleaning Interval | Notes |
|---|---|---|
| Clean room, no pets | Every 4–6 months | Light dust buildup |
| Average home | Every 3–4 months | Standard recommendation |
| Pets in home | Every 1–2 months | Pet hair clogs filters fast |
| Carpeted floor / smoker | Every 1–2 months | Heavy dust and residue |
Critical Dos and Don’ts
A few rules keep your cleaning safe. Always hold fan blades still when blowing compressed air at them, because spinning a fan beyond its rated speed can generate a current that damages it. Never use a household vacuum cleaner directly on internal components, since vacuums can build up static electricity that harms sensitive parts. And keep canned air upright and use short bursts to avoid spraying cold liquid propellant onto your hardware.
Avoid touching components unnecessarily, and if you do, discharge any static by touching a metal part of the case first. Don’t use water or harsh cleaners inside the case; isopropyl alcohol is the safe solvent for stubborn residue. Patience and gentle technique prevent the rare but real risk of damaging a part during cleaning.
Going Deeper: Thermal Paste and Peripherals
For most cleanings, blowing out dust is all you need. But every few years, reapplying the thermal paste between your CPU and cooler can restore cooling performance that degrades as old paste dries out. This is a more advanced task that involves removing the cooler, cleaning off the old paste with isopropyl alcohol, and applying a fresh pea-sized amount.
Don’t forget your peripherals while you’re at it. Your keyboard collects crumbs and dust, your mouse sensor can get gunked up, and your desk surface gathers grime. A quick wipe-down of everything completes the refresh and keeps your whole setup feeling new.
Improving Airflow While You’re In There
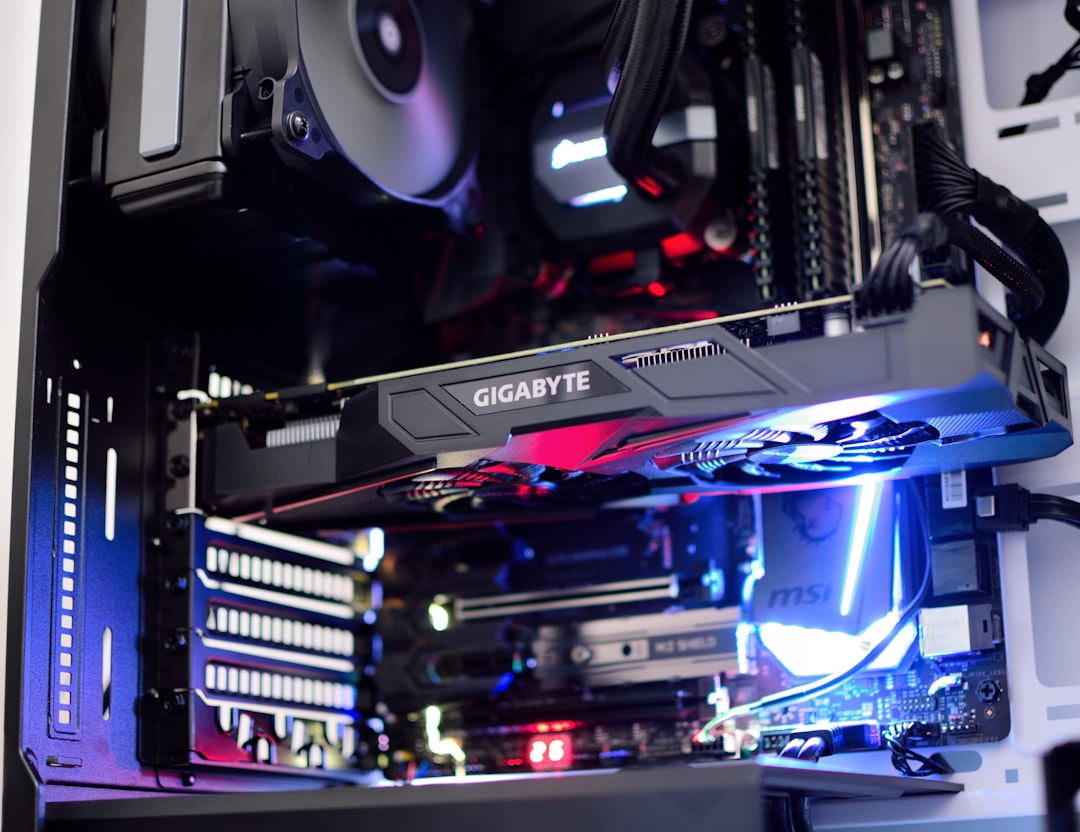
Cleaning is the perfect opportunity to evaluate your case’s airflow, since you already have the side panel off. Take a moment to confirm that your intake fans are pulling cool air in from the front or bottom and your exhaust fans are pushing hot air out the rear and top. A balanced setup with a slight positive pressure, meaning a bit more intake than exhaust, helps keep dust from being sucked in through unfiltered gaps in the case.
If you notice fans spinning the wrong direction or a filter that’s missing entirely, fixing it now will keep your PC cleaner and cooler going forward. Reseating loose fan cables and making sure nothing is obstructing airflow, like a drooping cable or a poorly placed component, takes only a minute. These small improvements compound over time, reducing how quickly dust accumulates and lowering your baseline temperatures so future cleanings are easier and less frequent.
Keep the Whole Setup Fresh
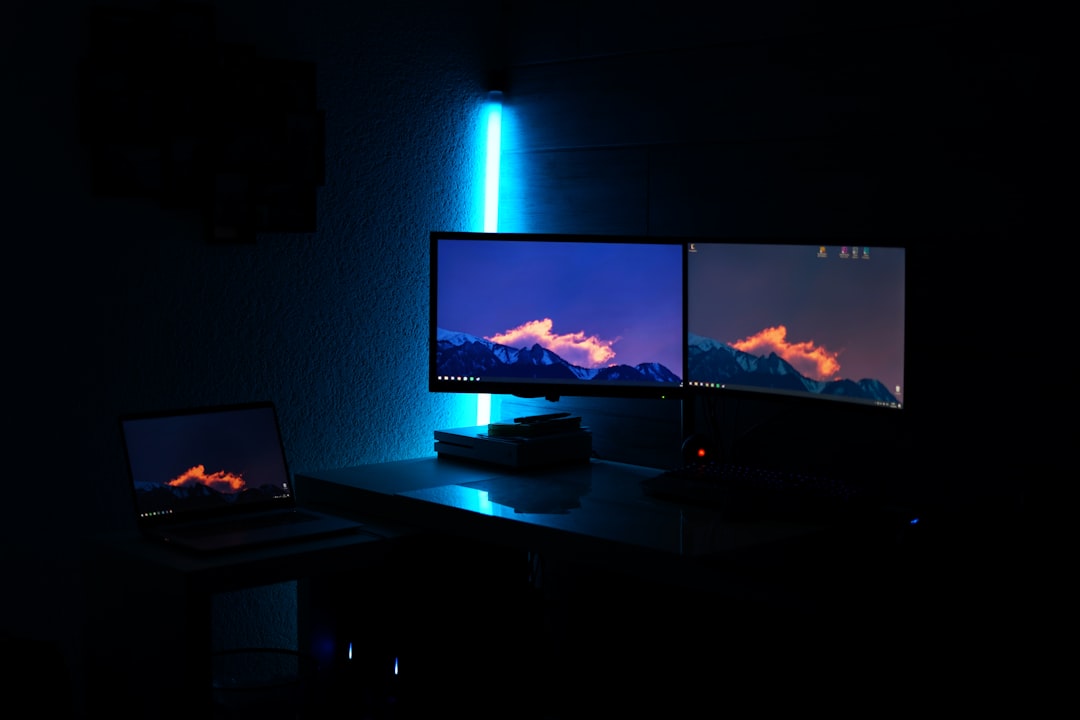
A clean PC deserves a clean environment around it. Wiping down your gaming monitor with a proper microfiber cloth keeps the image crisp, and dusting around a fast 240Hz 1440p monitor ensures vents stay clear so the panel runs cool. Don’t overlook your gaming speakers, which collect dust on their grilles, or your RGB light strip, where a thin layer of dust can dull the glow over time. A few minutes on each keeps the entire battle station looking and performing its best.
Frequently Asked Questions
How often should I clean my gaming PC?
For an average home, every three to four months is a good rhythm. If you have pets, carpet, or smoke indoors, clean every one to two months since those environments produce far more dust that clogs filters quickly.
Can I use a vacuum cleaner to clean my PC?
It’s not recommended. Household vacuums can generate static electricity that may damage sensitive components. Use compressed air or an electric air duster instead, which safely blows dust away without the static risk.
Do I need to remove components to clean my PC?
Usually not for routine cleaning. Blowing out dust with the side panel open covers most needs. You only need to remove components for deeper tasks like reapplying thermal paste, which is an occasional rather than regular job.
Why do I need to hold fan blades still when cleaning?
Blowing compressed air can spin fans faster than their rated speed, which can generate a voltage spike that damages the fan or connected components. Gently holding the blades with a finger prevents this while you clean them.
Will cleaning my PC actually lower temperatures?
Yes, often significantly. Dust insulates heatsinks and blocks airflow, so removing it can drop component temperatures by several degrees and reduce fan noise. A clean PC runs cooler, quieter, and more reliably.
Conclusion
Cleaning your gaming PC is simple, cheap, and one of the best things you can do to keep it running cool and quiet. Power down, blow out the dust with compressed air, clean your filters, and hold those fan blades still as you work. Stick to a regular schedule based on your environment, and your machine will reward you with lower temperatures, quieter operation, and a longer, healthier life.