⚡ Key Takeaways
- Before fixing anything, know your targets.
- Always exhaust the no-cost options before spending money.
- Undervolting is the single most effective free technique for lowering temperatures, and it deserves its own section.
- If free fixes aren't enough, a few targeted upgrades make a real difference.
If your graphics card sounds like a jet engine and your frame rate dips mid-session, learning how to lower GPU temperature (and CPU temperature too) will make your PC quieter, faster, and longer-lived. Heat is the natural byproduct of computing power, but excessive heat forces your components to throttle their clock speeds to protect themselves, costing you performance. The encouraging news is that most temperature problems stem from airflow, dust, or settings rather than faulty hardware, and nearly all of them are fixable at home with no special tools. This guide covers the full range of solutions, from free tweaks to hardware upgrades.
What Counts as Too Hot?
Before fixing anything, know your targets. Modern CPUs and GPUs are designed to run hot and will throttle only at high thresholds, but staying well below those keeps performance and noise in check.
| Component | Idle | Gaming (Good) | Throttle Point |
|---|---|---|---|
| CPU | 30–45°C | 60–75°C | ~95–100°C |
| GPU Core | 30–45°C | 60–75°C | ~83–90°C |
| GPU Memory | — | up to 85°C | ~95°C+ |
Monitor these with tools like HWiNFO or your GPU software. If you’re consistently bumping the throttle point during gaming, the fixes below will bring temperatures down meaningfully.
Free Fixes: Start Here
Always exhaust the no-cost options before spending money. Many overheating issues vanish after these steps:
- Clean out dust. Dust-clogged heatsinks and filters are the number one cause of rising temperatures over time. Use compressed air on fans, filters, and heatsink fins every few months.
- Improve case airflow. Ensure you have intake fans at the front and exhaust at the rear and top. A simple front-to-back airflow path works wonders.
- Tidy your cables. Loose cables obstruct airflow. Route them behind the motherboard tray to clear the path for cool air.
- Set a custom fan curve. Default profiles favor quiet over cool. A more aggressive curve spins fans up sooner, trading a little noise for lower temperatures.
- Raise the case off carpet. A PC sitting on carpet starves for intake air. Place it on a hard surface or a stand.
Undervolting: The Best-Kept Secret
Undervolting is the single most effective free technique for lowering temperatures, and it deserves its own section. By reducing the voltage supplied to your CPU or GPU while keeping clock speeds the same, you cut heat and power draw dramatically with little to no performance loss. Many GPUs can shed ten degrees or more this way. For graphics cards, software like MSI Afterburner lets you adjust the voltage-frequency curve; for CPUs, the BIOS or vendor utilities handle it. Undervolting takes a bit of testing for stability but rewards you with a cooler, quieter machine running at full speed.
Cap Your Frame Rate
If your GPU runs at 100 percent rendering hundreds of frames in a menu or an old game, it generates needless heat. Capping your frame rate to your monitor’s refresh rate lets the GPU coast, dropping temperatures and noise instantly. This pairs perfectly with the smoother experience of a variable-refresh display and costs you nothing in perceived performance.
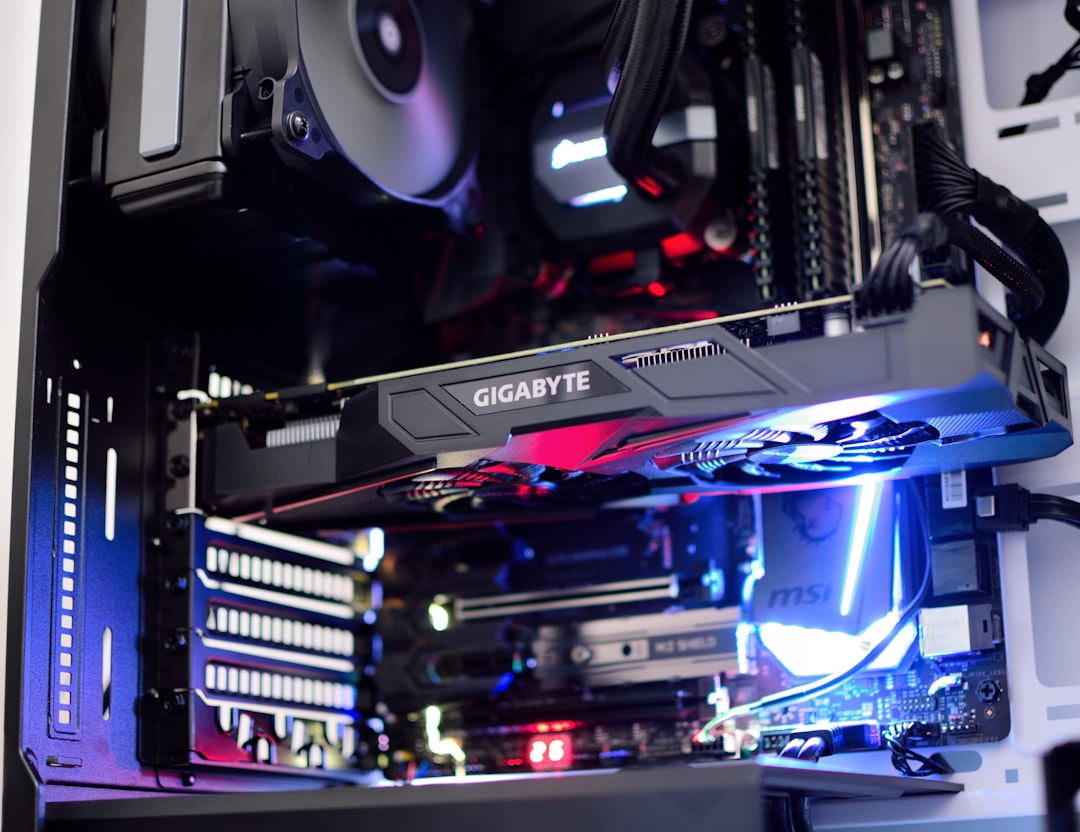
Hardware Upgrades That Help
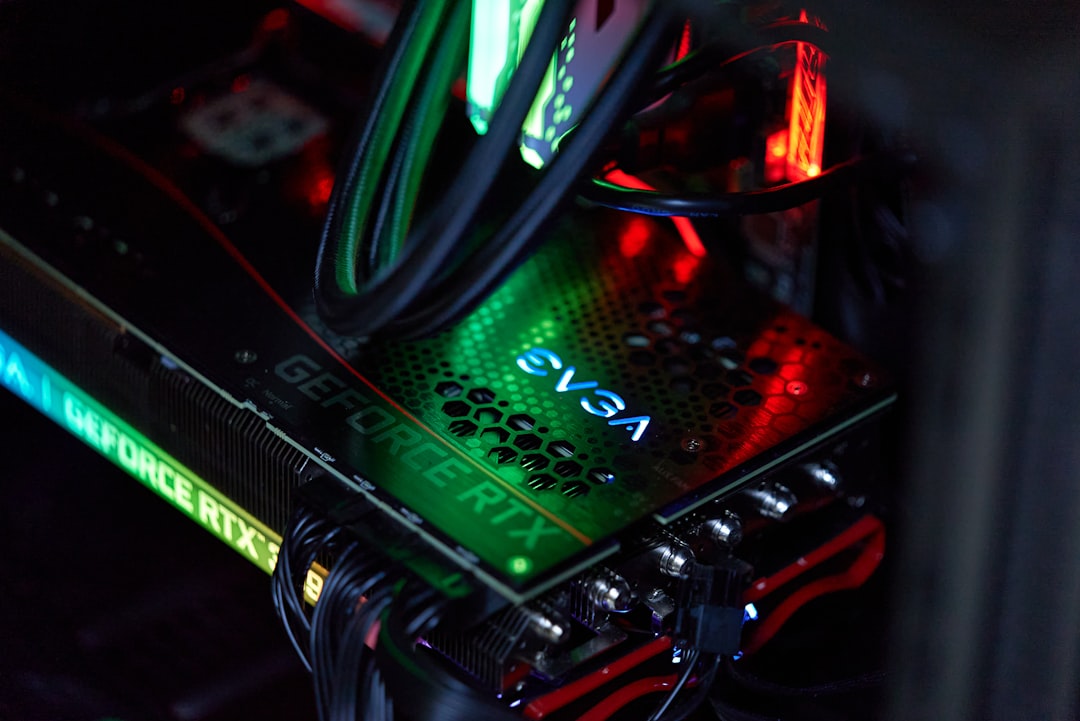
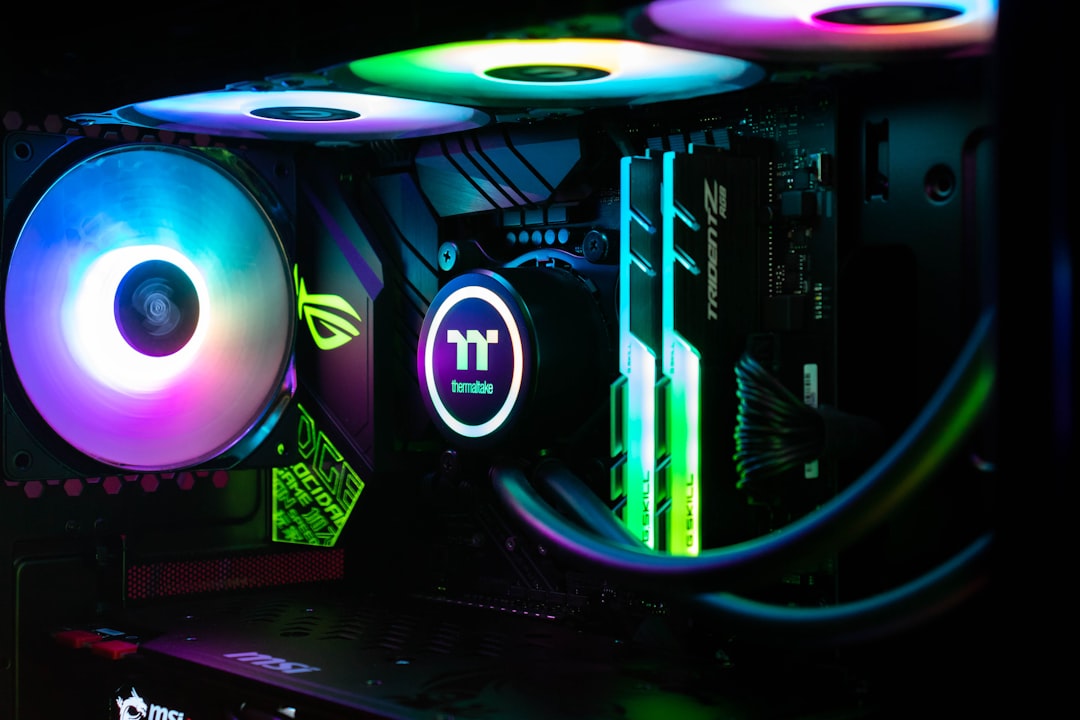
If free fixes aren’t enough, a few targeted upgrades make a real difference. Replacing old, dried-out thermal paste on your CPU with a fresh quality compound can lower temperatures by several degrees. Upgrading a weak stock CPU cooler to a strong air cooler or a 240mm liquid AIO is the biggest single improvement for a hot CPU. Adding case fans to fix poor airflow is cheap and effective. For a GPU that runs hot in a cramped case, a model with a better cooler design or simply a roomier case with more fans can solve the problem.
How to Monitor Temperatures Properly
You can’t fix what you can’t measure, so reliable monitoring is the foundation of any cooling effort. The most informative approach is to run a free tool like HWiNFO in sensors-only mode during a real gaming session, then review the maximum values it logged after you finish. Looking at peak temperatures under sustained load tells you far more than a glance at idle numbers, because cooling problems reveal themselves only when the components are working hard for an extended period.
Pay attention to more than just the core temperature. GPU memory (often labeled memory junction temperature) and the VRM power-delivery components on both the motherboard and graphics card can run hotter than the main core and may throttle independently. A card whose core sits at a comfortable 70°C can still throttle if its memory junction climbs toward its own limit. Watching all three readings, core, memory, and a quick check of CPU package temperature, gives you the complete picture and points you toward exactly which area needs better airflow or cooling.
Building a Quiet, Cool System from the Start
The easiest cooling problem to solve is the one you design out from the beginning. When choosing a case, prioritize mesh front panels and good fan mounting options over solid panels that look sleek but choke airflow. A case with room for several large fans running slowly will always be quieter and cooler than a cramped one with small fans spinning fast, because larger fans move the same amount of air at lower speeds and therefore lower noise. Plan for an unobstructed front-to-back air path before you buy.
Component choice matters too. A GPU model with a robust triple-fan cooler runs cooler and quieter than a compact dual-fan version of the same card, and a quality CPU air cooler or a 240mm liquid cooler tames heat with minimal noise. Spending a little more on cooling at build time pays dividends for the entire life of the machine, sparing you the dust-and-throttle troubleshooting later. A system designed to breathe well from day one rarely needs the emergency fixes that hot, poorly planned builds demand.
Don’t Forget Ambient Conditions
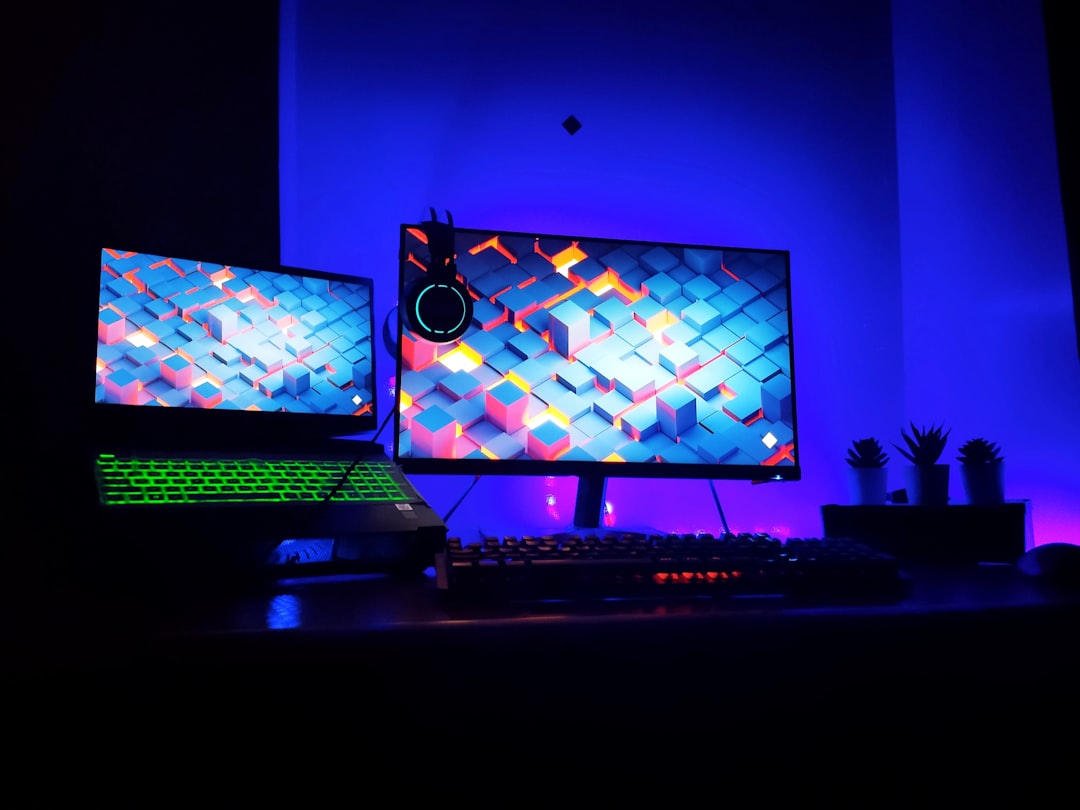
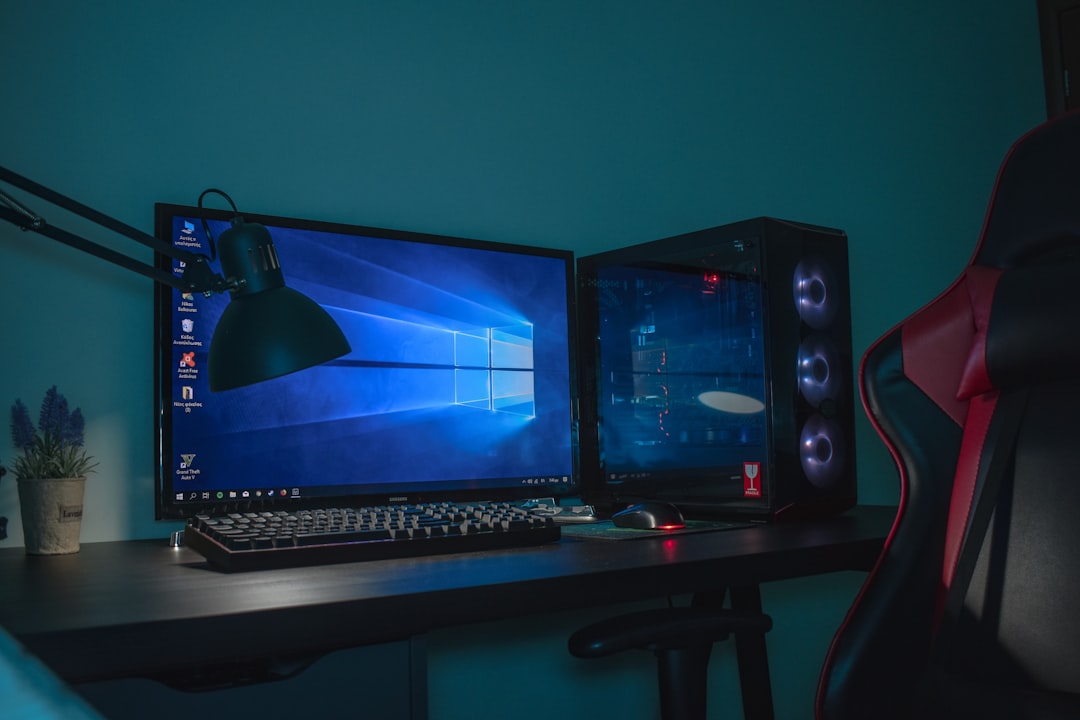
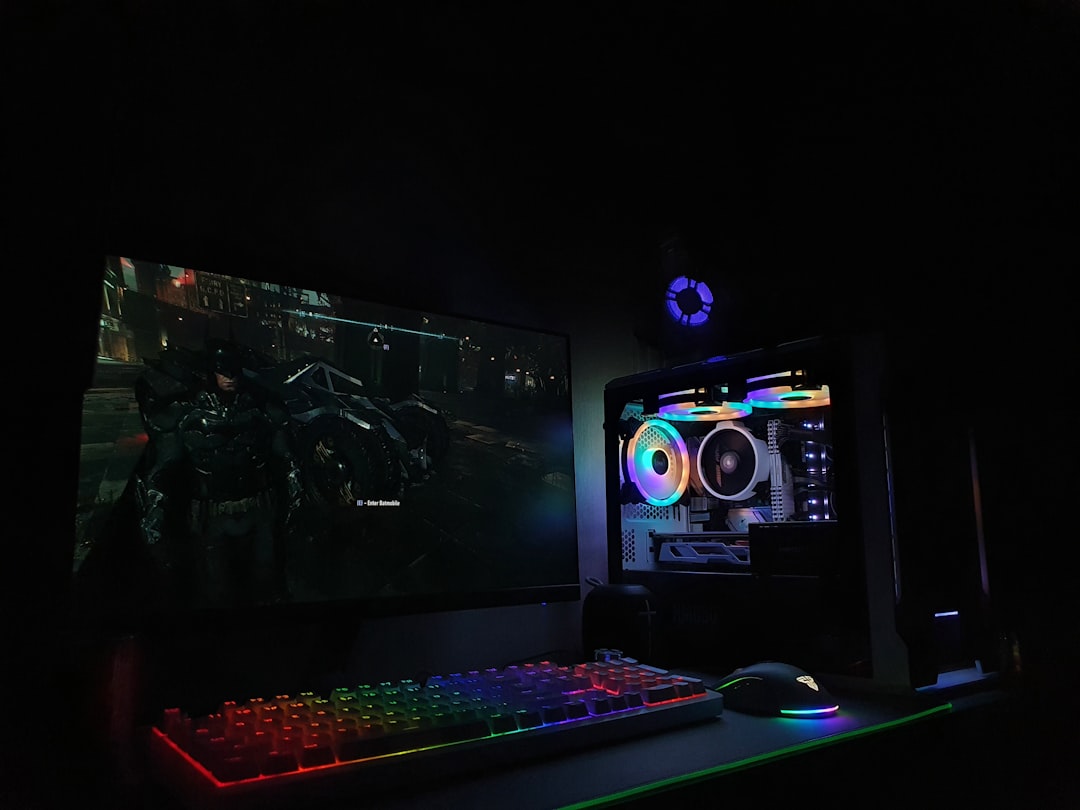
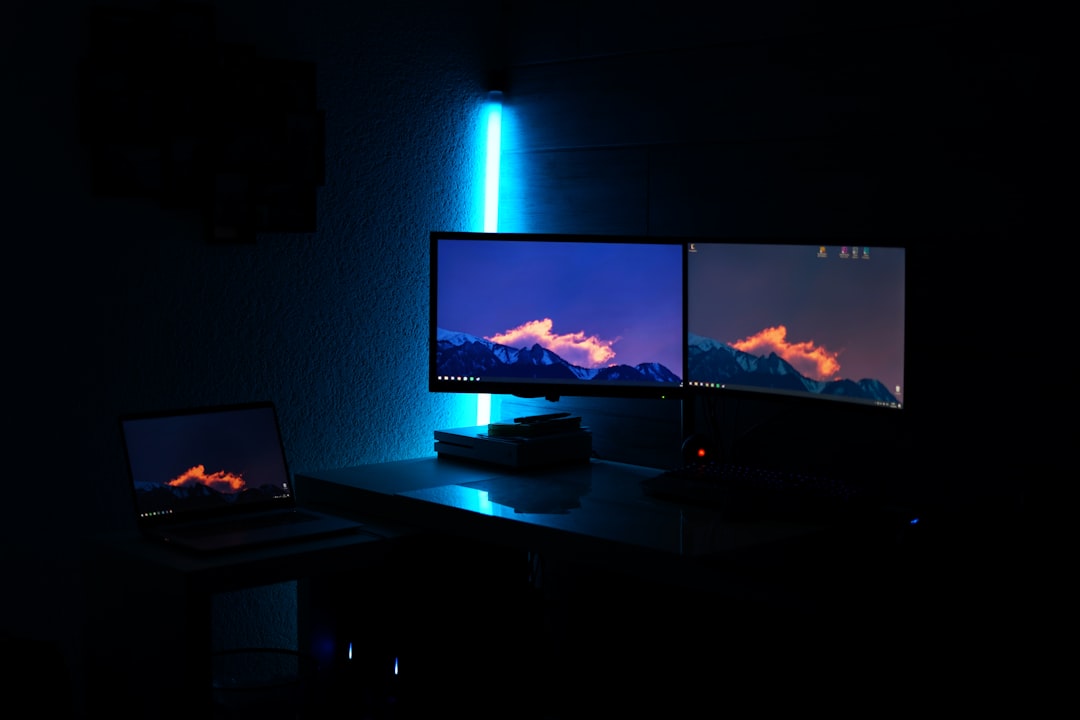
Your room temperature directly affects component temperatures; a PC in a hot, poorly ventilated room runs hotter no matter what you do inside the case. Keep your setup away from direct sunlight and ensure the area around the PC has breathing room. A clean, organized desk with a monitor arm improves airflow around your whole setup, and routing accessory cabling neatly, perhaps alongside an RGB light strip for ambiance, keeps clutter from trapping heat. A cooler system also means a quieter one, which makes a good pair of gaming speakers shine without fan noise competing.
Frequently Asked Questions
What is a safe GPU temperature for gaming?
Anywhere from 60 to 75°C under load is excellent, and up to around 80°C is perfectly fine. Most cards only begin throttling in the mid-80s, so there’s no need to worry until you approach that range.
Does undervolting reduce performance?
Usually not noticeably. A proper undervolt keeps clock speeds the same while lowering voltage, so you get nearly identical performance with much lower heat and power draw. Some chips even perform better by avoiding thermal throttling.
How often should I clean my PC of dust?
Every three to six months for most setups, more often if you have pets or a dusty environment. Regular cleaning prevents the gradual temperature creep that dust-clogged heatsinks cause.
Is liquid cooling necessary for gaming?
No. A quality air cooler handles most gaming CPUs beautifully and is more reliable. Liquid AIOs help with the hottest high-end chips or for aesthetics, but they’re a choice rather than a requirement.
Why did my temperatures suddenly increase?
The usual culprits are dust buildup, a fan that has failed or come unplugged, or thermal paste that has dried out over years. Check fans are spinning and clean out dust first.
Conclusion
Lowering GPU and CPU temperatures is mostly about airflow, cleanliness, and smart settings rather than expensive hardware. Start with dust removal and a good fan curve, then unlock the real gains with undervolting and a frame cap. If you need more, fresh thermal paste and a stronger cooler finish the job. A cooler PC runs faster, lasts longer, and sounds quieter, making these tweaks among the most worthwhile you can do.