⚡ Key Takeaways
Get instant results in seconds — no signup.
- Cable management is not purely cosmetic.
- Most of what you need is cheap or already in the box your case shipped in.
- The single biggest mistake people make is plugging everything in first and tidying later.
- The space behind the motherboard tray is where the magic happens.
Learning proper PC cable management is one of the most satisfying upgrades you can make to a build you already own. It costs almost nothing, takes an afternoon, and transforms a tangled box of wires into a clean, airflow-friendly machine that looks like it belongs in a showroom. Whether you’re finishing a fresh build or rescuing an older rig that has grown messy over the years, tidy cabling improves cooling, makes future upgrades painless, and shows off the components you spent real money on. This guide walks you through everything from planning to the final zip tie, with practical techniques anyone can follow.
Why Cable Management Actually Matters
Cable management is not purely cosmetic. Loose cables draped across fans and heatsinks disrupt airflow, trap dust, and can raise component temperatures by several degrees. A bird’s nest behind the motherboard tray also makes it harder to swap a GPU, add storage, or trace a faulty connection. When wires are routed cleanly, air moves freely from intake to exhaust, dust collects in predictable places that are easy to clean, and you can open the side panel without dreading what you’ll find.
There’s a productivity angle too. A well-managed build is a joy to maintain. Six months from now, when you decide to add an SSD or a new graphics card, you’ll thank yourself for labeling and routing things the first time around. Good cable habits pay dividends for the entire life of the system.
Tools and Materials You’ll Need
You don’t need a professional toolkit. Most of what you need is cheap or already in the box your case shipped in.
- Velcro straps — reusable and gentler than zip ties for cables you may move later.
- Zip ties — permanent and inexpensive, perfect for bundles that won’t change.
- Flush cutters or scissors — for trimming zip tie tails cleanly.
- A Phillips screwdriver — for removing panels and securing drives.
- Cable combs (optional) — for aligning visible 24-pin and PCIe cables.
- Extension cables or a modular PSU — only if your existing cables are too short.
Plan Your Routing Before You Plug Anything In
The single biggest mistake people make is plugging everything in first and tidying later. Reverse that. Before connecting cables, look at where each component sits and where the cable needs to end up. Modern cases include cutouts with rubber grommets specifically positioned near the motherboard’s power, CPU, and front-panel headers. Plan to route each cable to the nearest grommet, through the back of the case, and out to its destination.
Map the major runs in your head: the 24-pin ATX cable to the right edge of the board, the 8-pin EPS cable up to the top-left corner, PCIe power down to the GPU, and SATA or front-panel wires to their headers. Knowing the path in advance means you only handle each cable once.
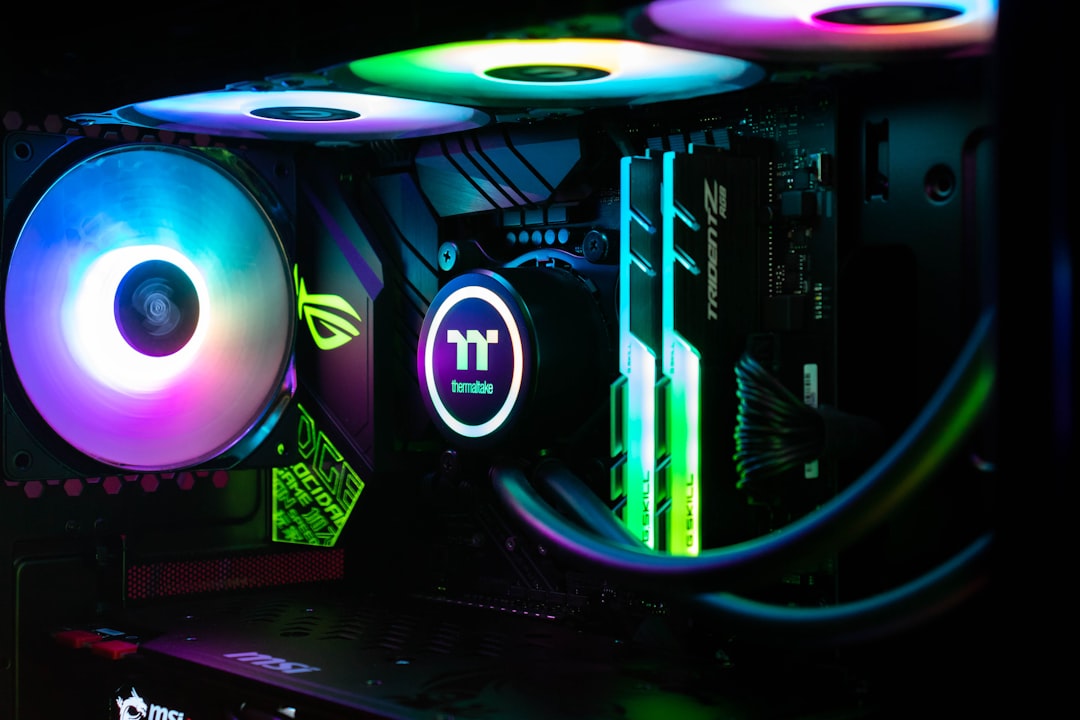
Use the Back of the Case as Your Highway
The space behind the motherboard tray is where the magic happens. Almost every cable should travel through this hidden channel rather than across the visible front compartment. Feed bundles through the nearest grommet, run them vertically or horizontally along the back, and bring them out only at the connector. Most quality cases include tie-down points or channels back here for exactly this purpose.
Resist the urge to over-stuff. If the side panel bulges when you try to close it, you’ve crammed too much into one spot. Spread cables out, and route the thick 24-pin connector through a wider section of the channel.
Bundle, Secure, and Trim
Once cables are routed, group cables that travel together and secure them at intervals with Velcro or zip ties. Aim for a strap roughly every three to four inches on long runs. Keep tension light enough that you don’t crush the insulation. When using zip ties, trim the tail flush with flush cutters so there are no sharp edges to scratch your hand later.
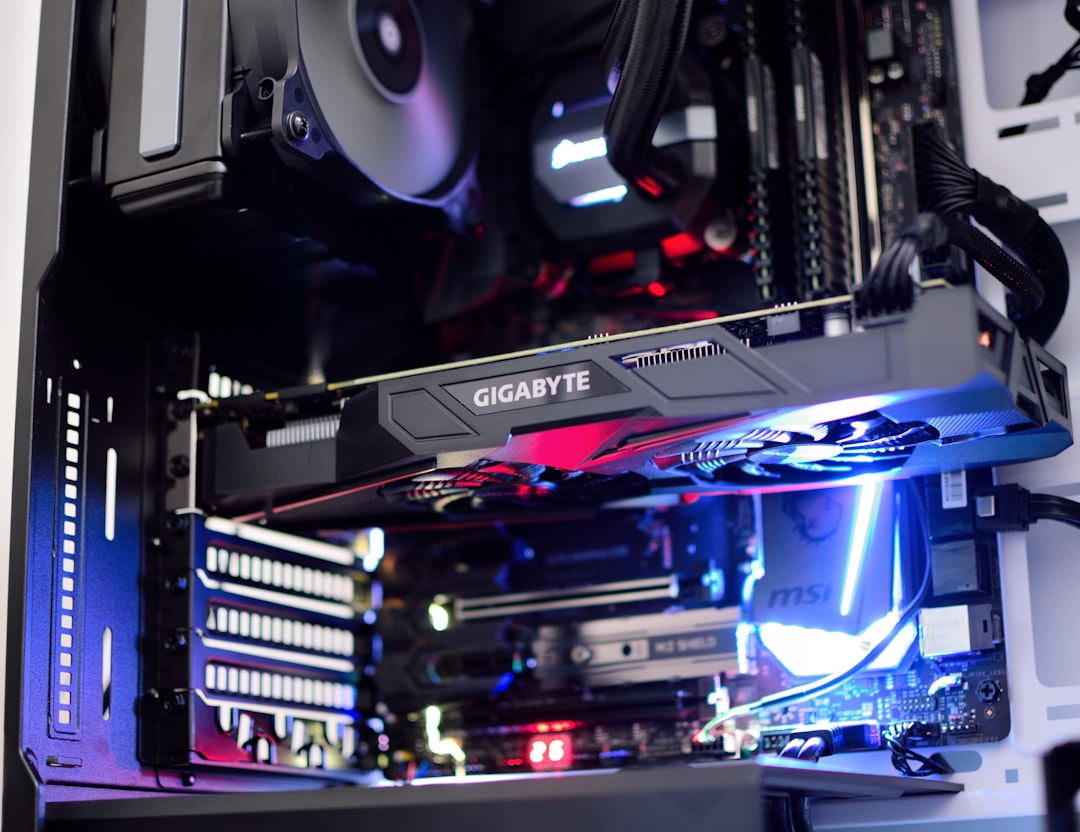
For the front-of-case view, cable combs keep the 24-pin and PCIe cables perfectly parallel, which is the trick behind those flawless show builds. They’re optional, but the visual payoff is huge if you have a glass side panel.
Cable Management Approaches Compared
| Method | Cost | Best For | Reusable | Visual Result |
|---|---|---|---|---|
| Velcro straps | Low | Cables you may move later | Yes | Good |
| Zip ties | Very low | Permanent bundles | No | Good |
| Cable combs | Medium | Visible runs, glass panels | Yes | Excellent |
| Custom sleeved extensions | High | Show builds | Yes | Excellent |
| Modular PSU swap | High | Removing unused cables | Yes | Excellent |
Special Tips for Modular vs. Non-Modular Power Supplies
A modular power supply lets you connect only the cables you actually use, which dramatically reduces clutter. If you have one, leave unused cables in the box. With a non-modular unit, every cable is permanently attached, so the strategy shifts to hiding the unused leads. Coil them neatly and tuck them into an empty drive bay or the bottom of the case where they’re out of the airflow path and out of sight.
If you’re shopping for a new build and value a clean look, choosing a fully modular supply is one of the easiest ways to make cable management simpler from day one.
Common Cable Management Mistakes to Avoid
A few recurring mistakes can undo even a careful effort. The most common is over-tightening zip ties, which pinches the insulation and creates stress points that can shorten a cable’s life. Keep your straps snug but never crushing. Another frequent error is routing cables across fan intakes or exhausts, which disrupts the very airflow you’re trying to protect. Always lead wires around fans, not in front of them.
People also tend to forget about future access. If you bundle everything so tightly that you can’t reach a single SATA connector or front-panel header, you’ll be cutting ties the next time you add a part. Leave a little slack near connectors you might touch again. Finally, don’t ignore the cables you can’t see behind the tray just because the front looks clean; a chaotic back panel can prevent the side panel from closing and traps heat. A few extra minutes of tidiness back there pays off every time you open the case.
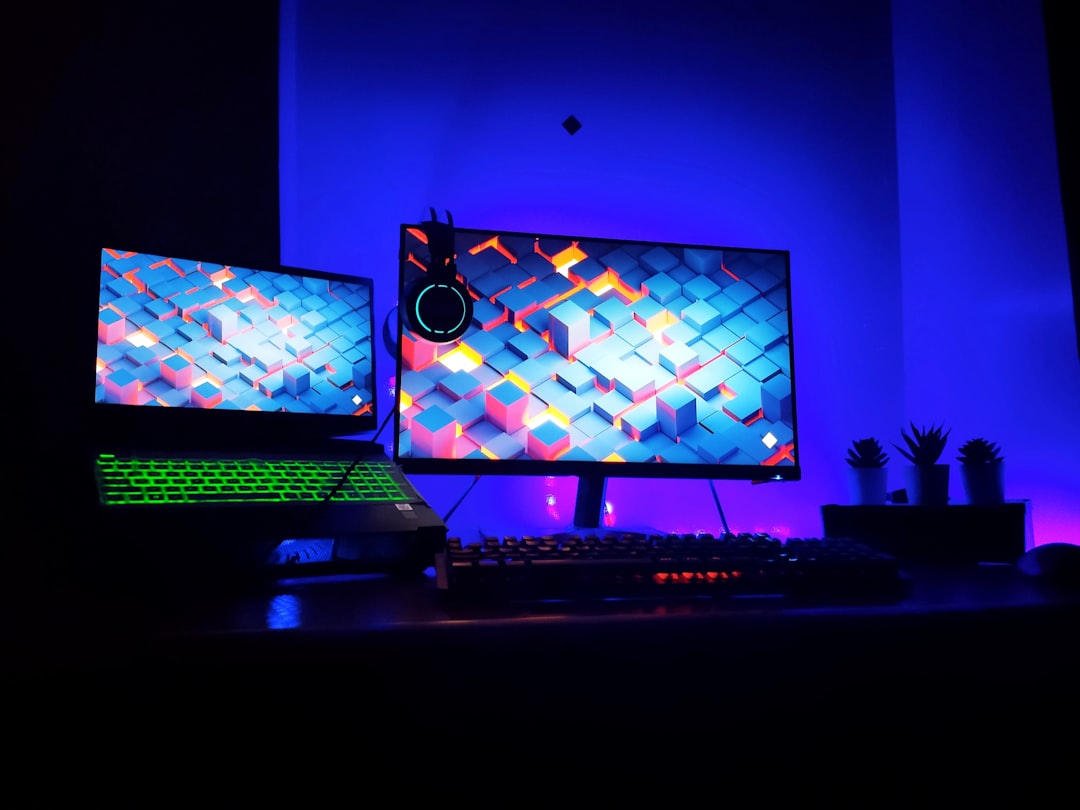
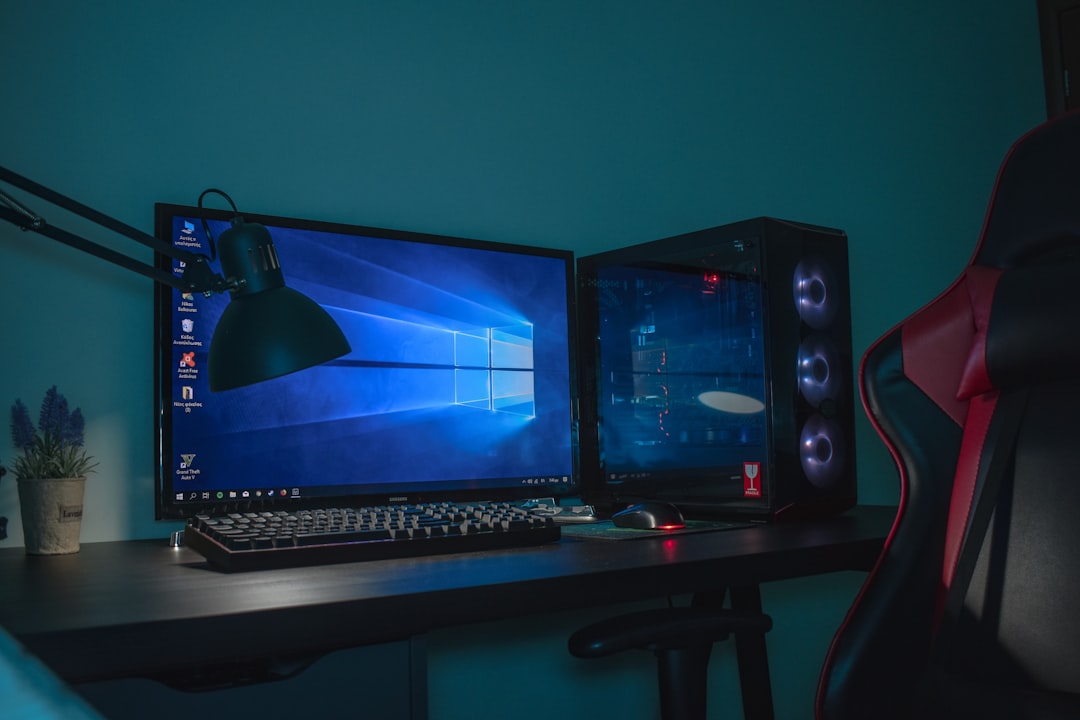
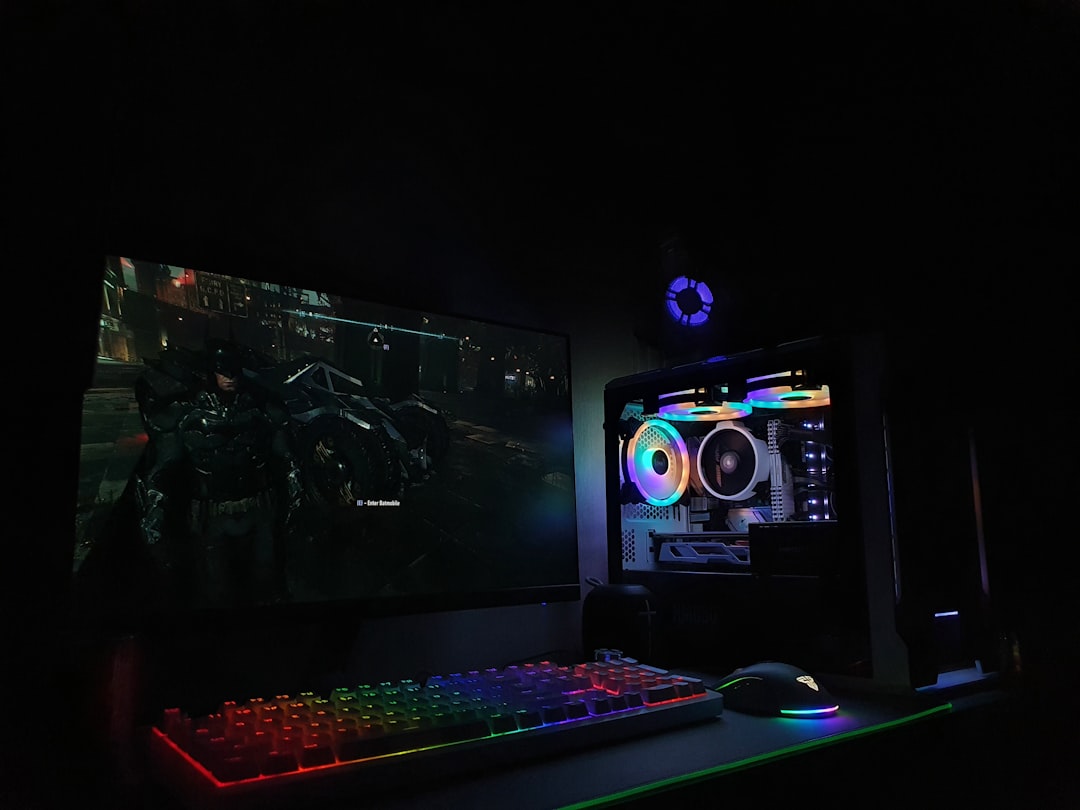
Don’t Forget the Visible Desk Cables
Cable management doesn’t stop at the case. The cables running to your peripherals deserve attention too. Route the cords from your keyboard, mouse, and headset along the back of your desk, and use a clamp-on tray or a few adhesive clips to keep them off the floor. If you run RGB accents around your setup, a tidy RGB light strip can hide its controller wire along the desk’s edge for a seamless glow. A quality monitor arm also frees up cable slack and clears the clutter that normally pools around a monitor stand.
While you’re optimizing the wider setup, it’s worth making sure the gear those cables connect to is up to par. Pairing a clean build with a great gaming monitor and a solid set of gaming speakers completes the package and keeps the whole space looking intentional.
Frequently Asked Questions
Does cable management really improve PC temperatures?
Yes, modestly. By keeping wires out of the airflow path, clean routing can lower component temperatures by a few degrees and reduces dust buildup that would otherwise insulate your hardware. The bigger benefit is unobstructed airflow from intake to exhaust.
Should I use zip ties or Velcro straps?
Use Velcro for anything you might move later, like GPU power cables before an upgrade. Use zip ties for permanent bundles where you want maximum tightness for the lowest cost. Many builders mix both.
What if my cables are too short to route behind the tray?
Buy extension cables, which are inexpensive and widely available, or switch to a modular power supply with longer leads. Short EPS (CPU power) cables are the most common offender, so check that run first.
How long does cable management take?
For a first attempt, budget one to two hours. Experienced builders can do a clean job in 30 to 45 minutes. Taking your time the first time around makes future maintenance much faster.
Do I need cable combs?
No. Combs are purely aesthetic and only matter if you have a glass side panel and visible cable runs. For a functional, tidy build, Velcro and zip ties are all you need.
Conclusion
Great cable management is less about expensive accessories and more about a simple habit: plan your routing, use the back of the case as a highway, and secure bundles cleanly. The result is a cooler, quieter, more maintainable PC that looks fantastic through any side panel. Set aside an afternoon, take it cable by cable, and enjoy a build you’ll be proud to show off.