⚡ Key Takeaways
Get instant results in seconds — no signup.
- Many problems are baked in before a single screw is turned, during the parts-selection phase.
- Once parts arrive, the physical build introduces its own set of classic errors.
- When a first build doesn't turn on, panic sets in, but the cause is almost always one of a few things.
- Several mistakes happen during the software stage and quietly rob you of performance.
Every seasoned builder has a story about their first attempt, and most of those stories involve at least one facepalm moment. The most common PC building mistakes are not exotic technical failures; they’re simple, avoidable oversights that trip up almost every newcomer. The encouraging truth is that knowing about these pitfalls in advance prevents the vast majority of them. This guide walks through the mistakes first-time builders make most often, explains why they happen, and shows you exactly how to sidestep each one so your first build boots cleanly and runs at its full potential.
Planning and Compatibility Mistakes
Many problems are baked in before a single screw is turned, during the parts-selection phase. Rushing this stage causes the most painful errors.
- Mismatched CPU and motherboard socket. The CPU must match the motherboard’s socket and the board’s chipset must support that CPU. Always verify compatibility, ideally with a build-checker tool, before buying.
- Forgetting GPU clearance. A long graphics card may not fit a compact case. Check the card’s length against the case’s maximum GPU clearance.
- Undersizing the power supply. Skimping on PSU wattage causes crashes under load. Size it with headroom for your GPU and CPU.
- Buying a single stick of RAM. This forfeits dual-channel mode and its performance benefit. Always buy a matched two-stick kit.
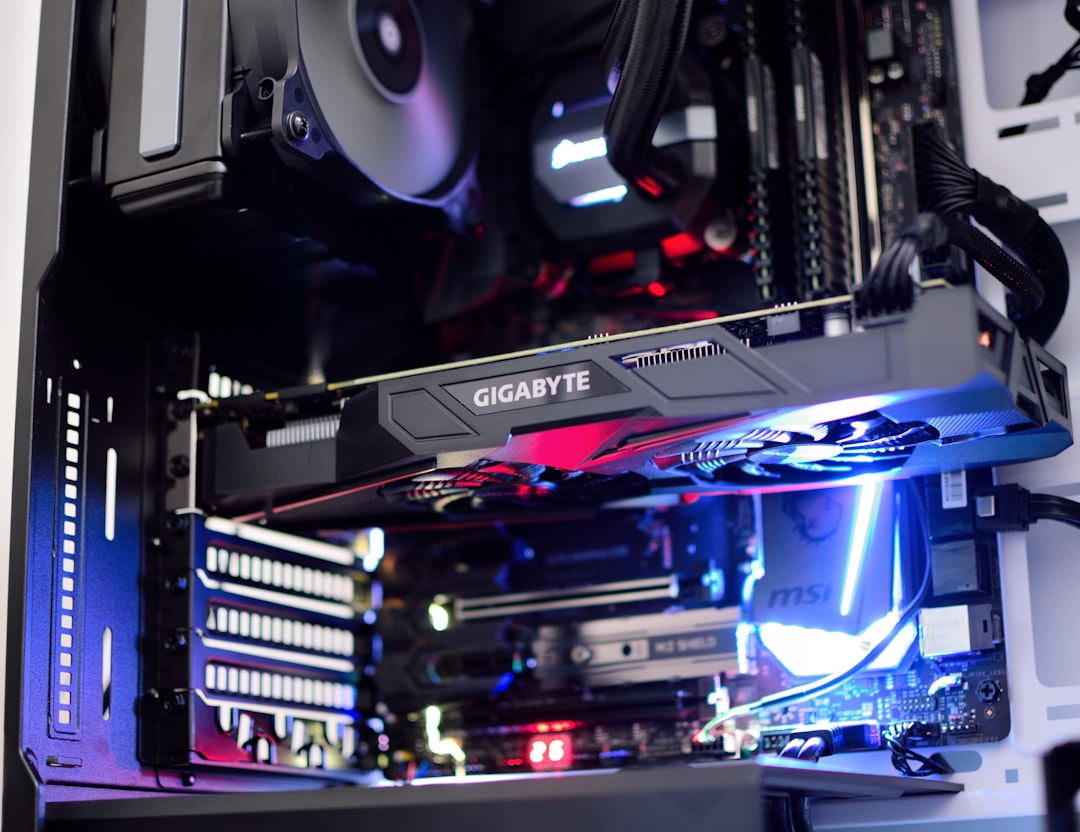
Assembly Mistakes
Once parts arrive, the physical build introduces its own set of classic errors. Patience and the motherboard manual prevent nearly all of them.
- Applying too much or too little thermal paste. A pea-sized dot is plenty. Globbing it on or forgetting it entirely both hurt cooling.
- Forgetting the I/O shield. Many builders mount the motherboard only to realize they skipped the rear I/O shield, which must go in first. (Some modern boards have it pre-attached, so check.)
- Not seating components firmly. RAM and the GPU need a confident press until they click. A partially seated stick is the top cause of no-boot.
- Missing the CPU power cable. The 8-pin EPS cable at the top of the board is easy to overlook, and without it the system won’t post.
- Plugging the monitor into the motherboard. With a dedicated GPU, the display must connect to the graphics card’s ports, not the motherboard’s.
The No-Boot Panic: A Quick Reference
When a first build doesn’t turn on, panic sets in, but the cause is almost always one of a few things. This table maps the most common no-boot scenarios to their fixes.
| Symptom | Most Likely Cause | Fix |
|---|---|---|
| No power at all | PSU switch off or front-panel pins wrong | Flip PSU switch, recheck power header |
| Fans spin, no display | Unseated RAM or GPU | Re-seat both firmly until they click |
| Powers on, no post | Missing 8-pin CPU power cable | Connect EPS cable at top of board |
| No image on screen | Monitor plugged into motherboard | Move cable to the GPU’s ports |
Software and Setup Mistakes
The build doesn’t end at first boot. Several mistakes happen during the software stage and quietly rob you of performance. The biggest is forgetting to enable the memory’s EXPO or XMP profile in the BIOS, which leaves your RAM running at a slow default speed. Another is neglecting to install the latest GPU drivers, which are essential for gaming performance and stability. Builders also frequently skip updating the motherboard BIOS, which can be necessary for a newer CPU to work, and forget to enable Resizable BAR, a free feature that can improve frame rates in modern games.
Static Electricity: Overblown but Worth Respecting
New builders often agonize over static electricity, picturing a single spark frying their expensive components. In reality the risk is modest and easily managed, but it’s worth a little respect rather than total dismissal. Build on a hard surface like a table rather than carpet, which generates static, and periodically touch a bare metal part of the case or the power-supply housing to discharge yourself. Avoid building in a very dry room while wearing a wool sweater, the classic static-generating combination.
An anti-static wrist strap clipped to the case offers cheap peace of mind if you’re nervous, though most experienced builders simply rely on the grounding habit above. The opposite mistake, panicking so much about static that you handle parts stiffly and drop them, is more common and more damaging than static itself. Handle components by their edges, keep them in their anti-static bags until you’re ready to install them, and proceed with calm confidence. A dropped GPU does far more harm than a stray static charge ever will.
Skipping the Manual and Rushing the Process
Perhaps the most underrated mistake is treating the motherboard manual as optional. That manual is the single best resource you have, containing the exact diagram for the fiddly front-panel header connections, the recommended RAM slots for dual-channel operation, the location of every connector, and troubleshooting codes. Builders who skip it inevitably waste time guessing at connections that the manual would have answered in seconds. Keep it open beside you throughout the build and reference it at every connection step.
Rushing is the close cousin of skipping the manual. A first build deserves a relaxed afternoon, not a frantic hour squeezed before an event. Most mistakes, from unseated RAM to forgotten cables to forcing a part the wrong way, happen when builders hurry. Work methodically, test-boot before final cable management, and double-check each major step before moving on. The patience you invest pays off in a clean first boot and spares you the far slower process of disassembling a finished build to find a rushed error.
Mistakes That Cost You Money Later
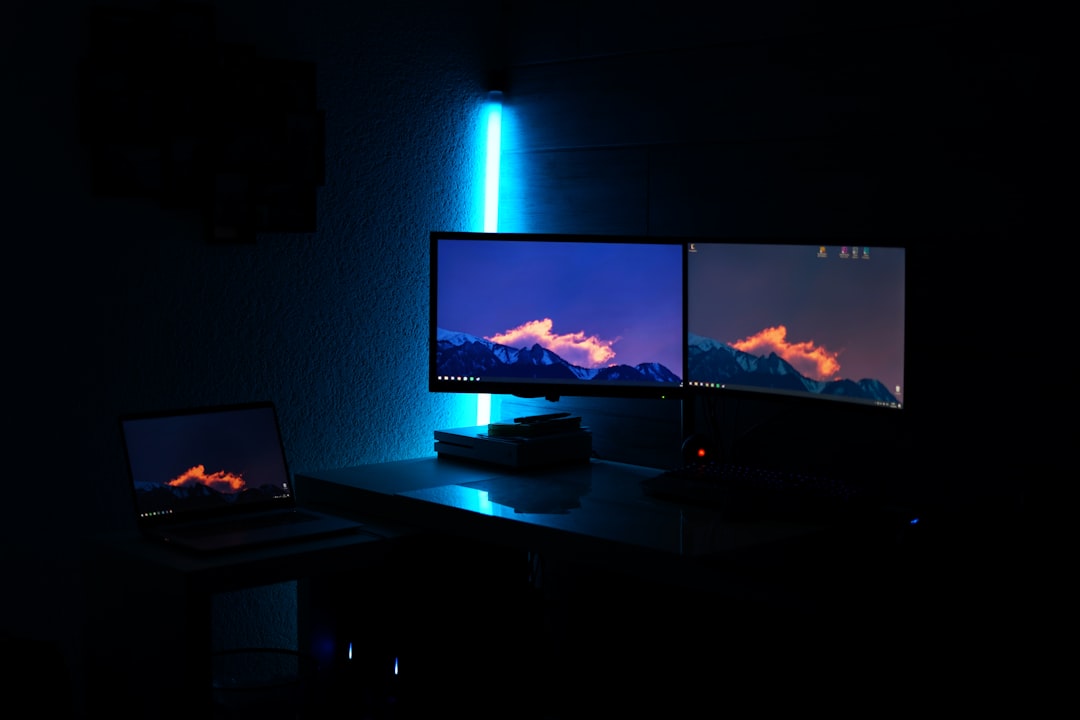
Some errors don’t break your build but lead to regret and unnecessary spending. Cheaping out on the power supply to afford a flashier part puts your whole system at risk. Buying a case with poor airflow leads to thermal throttling that limits performance. Overspending on parts that don’t improve gaming, like exotic PCIe 5.0 SSDs or excessive RAM, wastes money you could have put toward a stronger GPU or a better display. Speaking of displays, a frequent oversight is sinking the entire budget into the tower and pairing it with a mediocre screen, which wastes your hardware’s potential. A quality gaming monitor or a fast 240Hz 1440p panel is part of the build, not an afterthought, and a tidy desk with a monitor arm makes the whole setup more pleasant to use.
Frequently Asked Questions
What is the most common PC building mistake?
Not seating components firmly enough, especially RAM and the GPU. A stick that looks installed but isn’t fully clicked in is the number one cause of a build that powers on but shows no display.
Why won’t my new PC turn on?
Check these in order: the PSU power switch, the 8-pin CPU power cable, that RAM and GPU are fully seated, and that the front-panel power pins are connected correctly. One of these solves the vast majority of no-boot situations.
Can I damage parts by building incorrectly?
It’s harder than you’d think. Components are keyed to fit only one way, and most mistakes cause a failure to boot rather than damage. The main real risks are forcing a CPU in wrong or using a poor-quality power supply.
Do I really need to enable XMP or EXPO?
Yes. Without it, your RAM runs slower than its rating, costing you gaming performance you paid for. It’s a simple BIOS toggle and one of the most commonly forgotten post-build steps.
Should I update my BIOS before building?
Sometimes it’s required for a newer CPU to be recognized by an older motherboard. Check whether your board needs a BIOS update for your specific CPU; many modern boards can update without a CPU installed.
Conclusion
Most PC building mistakes are simple oversights rather than complex failures, which means awareness is your best defense. Verify compatibility before buying, seat every component firmly, connect all power cables, plug your monitor into the GPU, and remember the software steps like enabling XMP and installing fresh drivers. Take your time, follow the manual, and your first build will reward your patience with a clean boot and years of reliable gaming.