⚡ Key Takeaways
- Before touching a single component, set up a clean, well-lit area.
- Every gaming PC is built around the same eight part categories.
- Work methodically and follow the motherboard manual alongside this list.
- Create a bootable Windows 11 USB drive using Microsoft's Media Creation Tool on another computer.
Learning how to build a gaming PC is one of the most rewarding projects in the hobby. You end up with a machine tailored to your games, your budget, and your aesthetic preferences, and you understand exactly how to upgrade or repair it later. The process looks intimidating from the outside, but modern components are designed to fit together in only one correct way. If you can assemble flat-pack furniture and follow a recipe, you can build a PC. This guide walks a first-timer through the entire journey, from gathering parts to that satisfying first boot.
Tools and Workspace You’ll Need
Before touching a single component, set up a clean, well-lit area. A dining table works far better than carpet, which generates static electricity. You’ll need surprisingly little:
- A single Phillips #2 magnetic screwdriver handles roughly 95% of the screws.
- The motherboard box, which doubles as an anti-static surface for test benching.
- A small bowl or magnetic tray to corral screws so they don’t roll away.
- Zip ties or Velcro straps (usually bundled with the case) for cable management.
- Your phone, to photograph manuals and orientation before you forget.
Static electricity worries beginners, but it is overstated. Touch a bare metal part of the case or your power supply housing periodically to discharge yourself, and avoid building on a wool sweater in a dry room. An anti-static wrist strap is cheap insurance if you’re nervous.
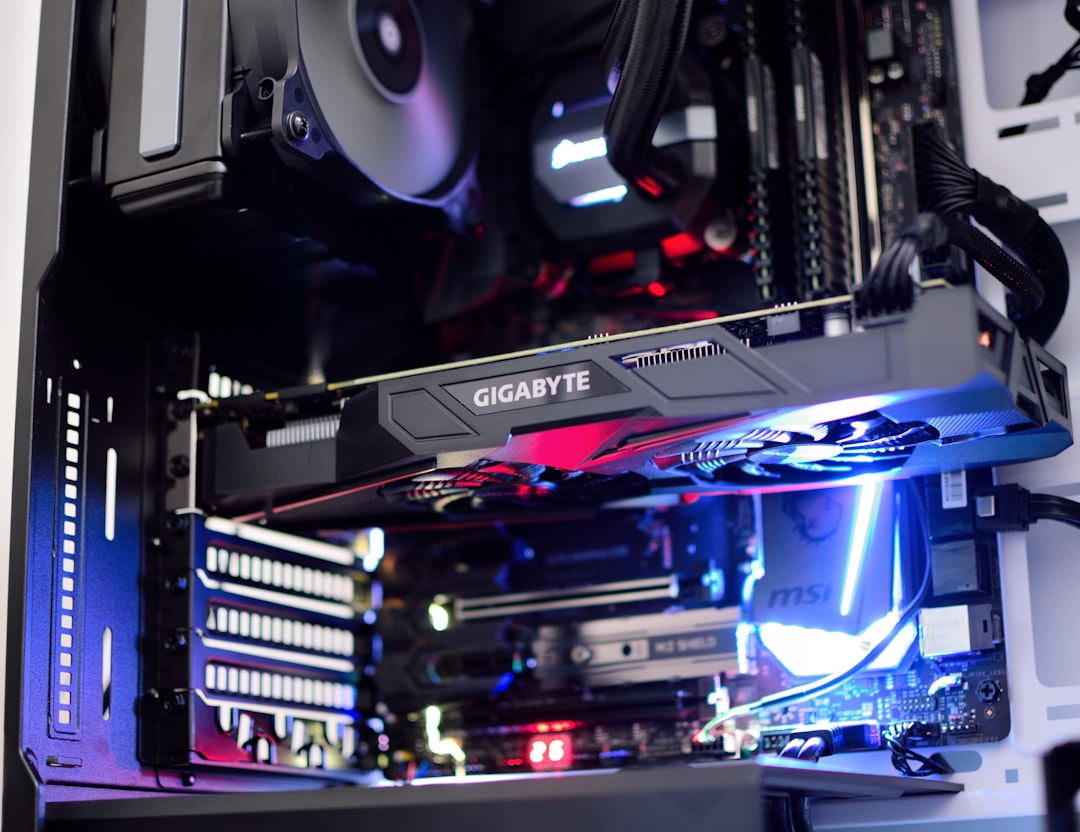
Understanding the Core Components
Every gaming PC is built around the same eight part categories. Knowing what each does prevents costly compatibility mistakes.
| Component | Job | Compatibility Note |
|---|---|---|
| CPU | General processing | Socket must match motherboard (AM5, LGA1851) |
| Motherboard | Connects everything | Chipset and form factor (ATX, mATX, ITX) |
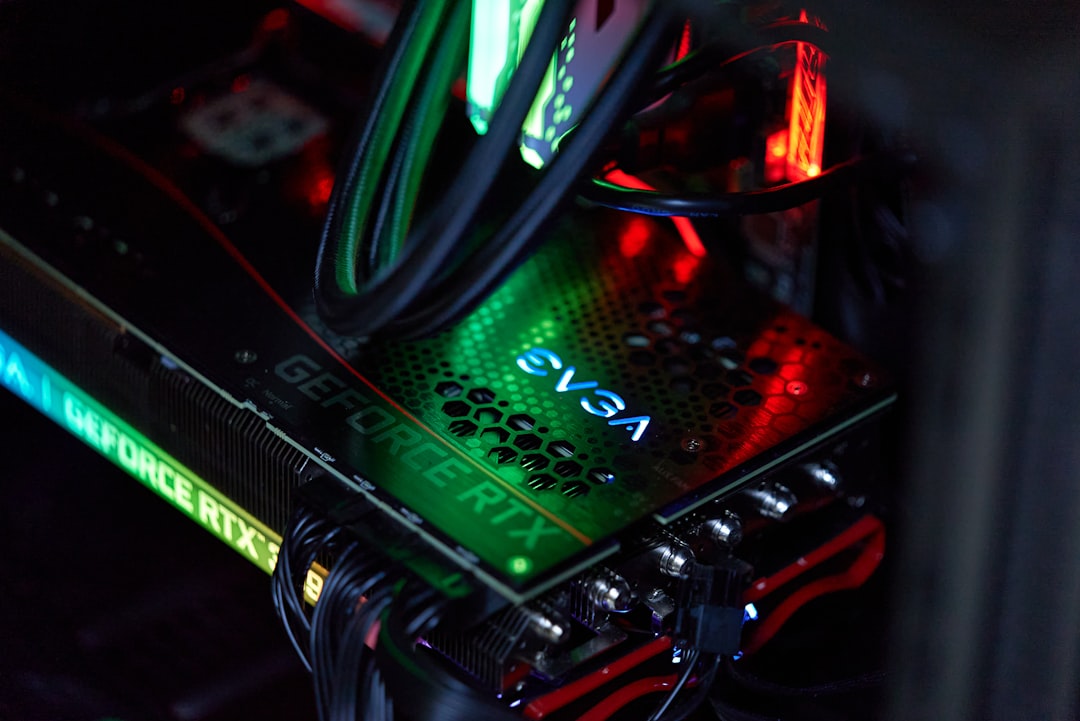
| GPU | Renders games | Needs PCIe x16 slot and adequate case clearance |
| RAM | Short-term memory | DDR5 for current platforms; match speed support |
| Storage | Holds OS and games | NVMe M.2 SSD strongly preferred |
| PSU | Supplies power | Wattage headroom for the GPU |
| Case | Houses parts | Must fit motherboard size and GPU length |
| Cooler | Manages heat | Air or AIO liquid; check clearance |
For a mainstream 2026 build, a 6- or 8-core CPU like a Ryzen 7 7800X3D or Core Ultra 7, paired with an RTX 5070 or Radeon RX 9070, hits the sweet spot for 1440p gaming. Pair it with 32GB of DDR5-6000 and a 1TB Gen4 NVMe drive.
Step-by-Step Assembly
Work methodically and follow the motherboard manual alongside this list. Installing the trickiest parts on the motherboard before it goes in the case gives you room to work.
- Install the CPU. Lift the retention arm, align the gold triangle on the CPU with the triangle on the socket, and lower it straight down. Never force it. Close the arm.
- Mount the cooler. If thermal paste isn’t pre-applied, add a pea-sized dot. Secure the cooler in a star pattern and plug its fan into the CPU_FAN header.
- Seat the RAM. Open the clips, match the notch, and press firmly until both clips snap. For two sticks, use slots 2 and 4 (check the manual for dual-channel).
- Install the M.2 SSD. Slide it into the slot at an angle, press down, and secure with the tiny screw or latch.
- Mount the motherboard. Install the I/O shield, then standoffs in the case, then screw the board down.
- Install the PSU and route cables. Connect the 24-pin, the 8-pin CPU power (top of the board), and PCIe power for the GPU.
- Install the GPU. Remove the rear slot covers, drop the card into the top PCIe x16 slot until it clicks, and screw it in.
- Connect front-panel headers. These tiny power, reset, and USB connectors are fiddly; the manual diagram is essential.
The First Boot
Before sealing the case, do a test boot. Connect a monitor to the GPU (not the motherboard) and power on. If you reach the BIOS screen, success. Enter the BIOS and enable your memory’s EXPO or XMP profile so the RAM runs at its rated speed rather than a slow default. This single toggle is the most commonly forgotten step and can cost you noticeable gaming performance.
Installing Windows and Drivers
Create a bootable Windows 11 USB drive using Microsoft’s Media Creation Tool on another computer. Boot from it, install to your NVMe drive, and let Windows update. Then visit the GPU manufacturer’s site for the latest graphics driver, the single most important software for gaming performance. Install your motherboard’s chipset drivers too. Once that’s done, your build is game-ready.
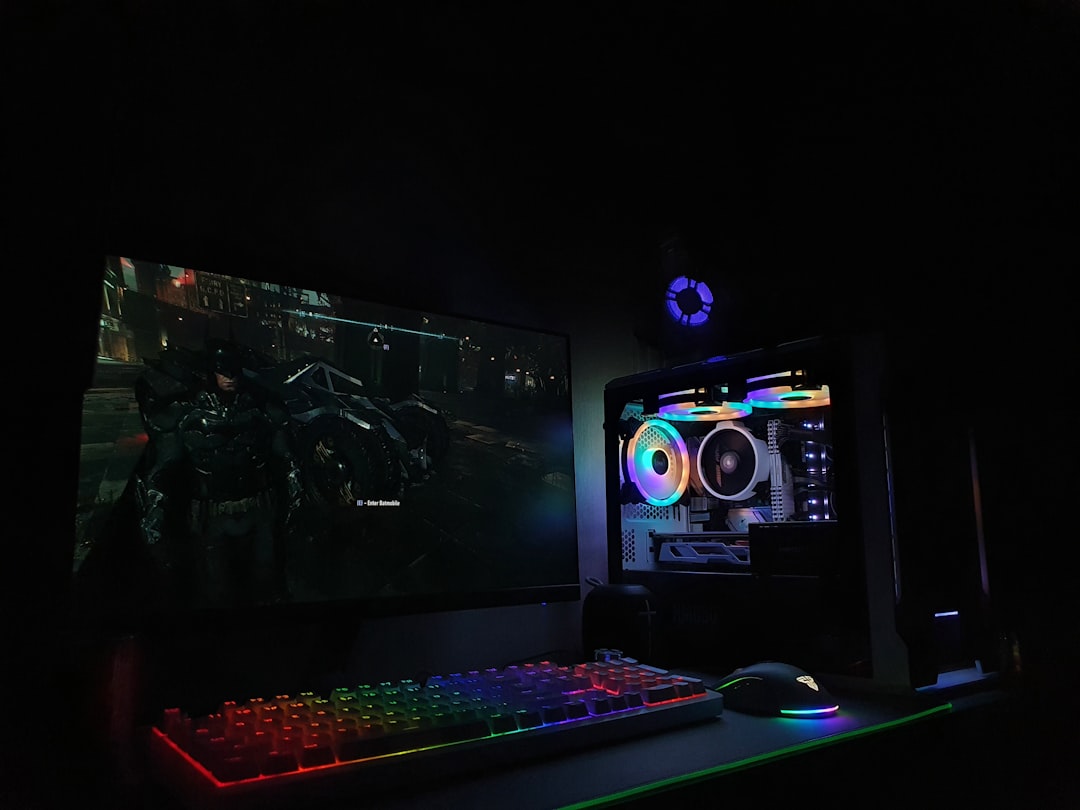
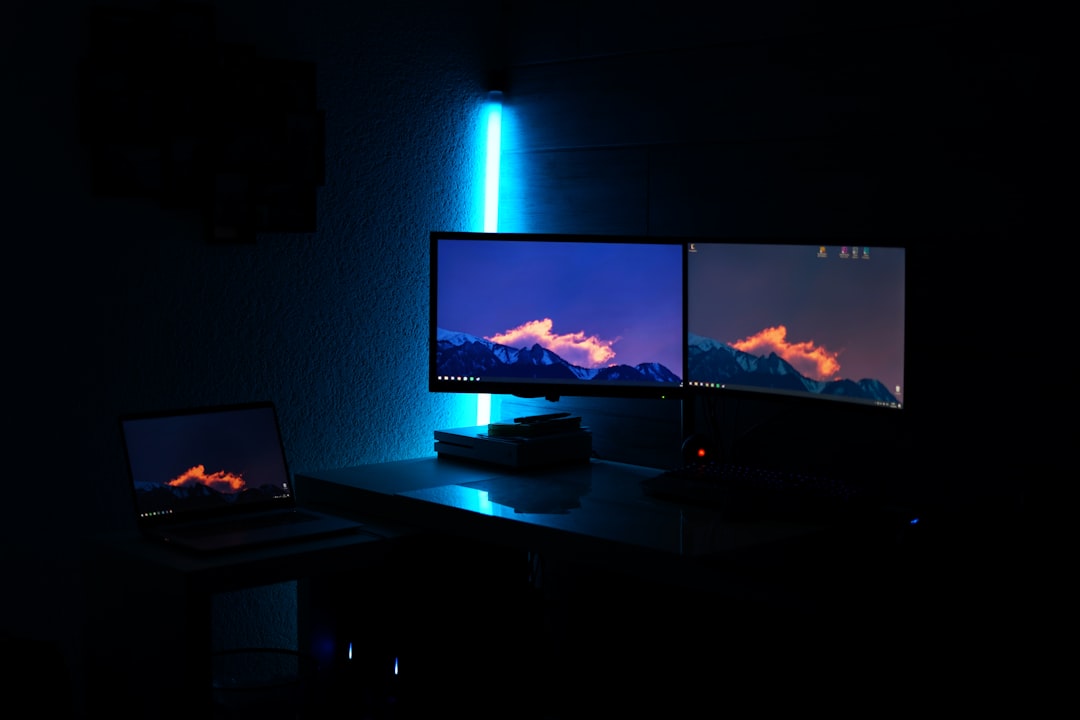
Building Out the Rest of Your Setup
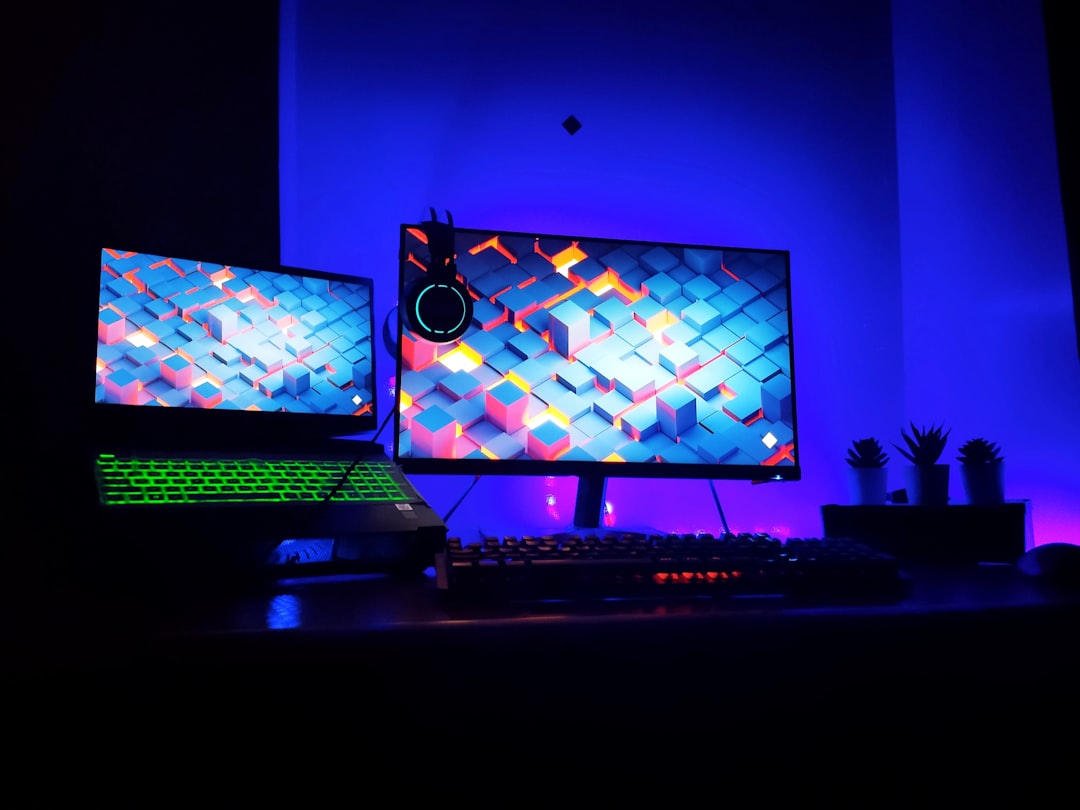
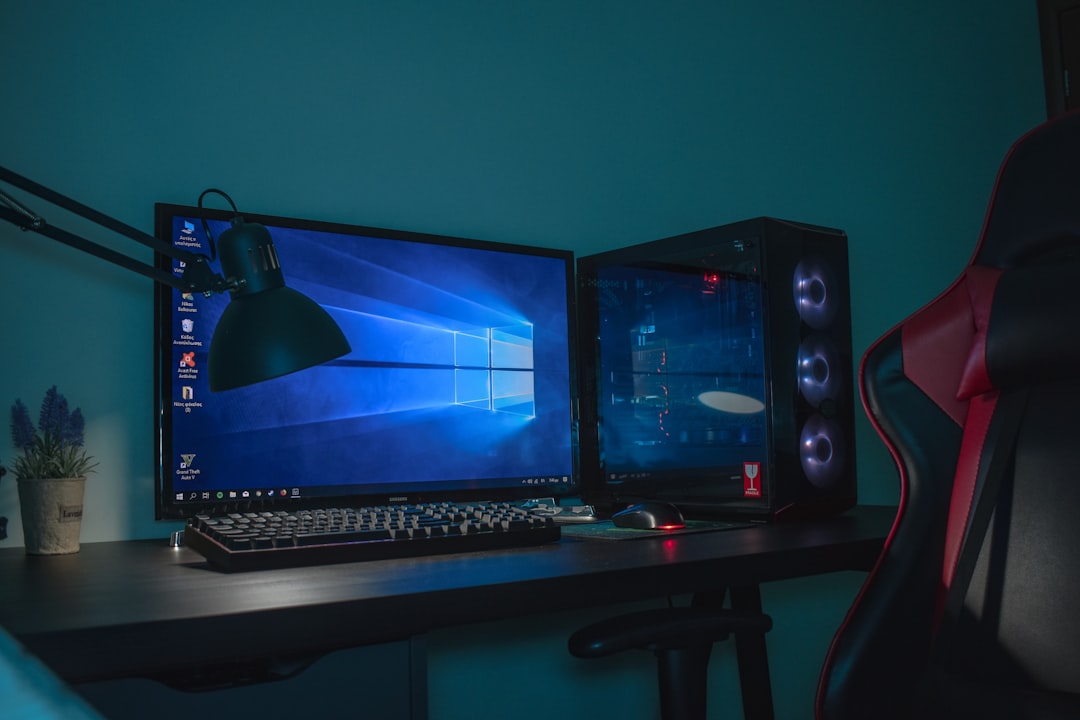
A great PC deserves great peripherals. Your display matters as much as your GPU, so research a quality gaming monitor that matches your hardware’s frame-rate output. Competitive players should look at a 240Hz 1440p panel to take advantage of high frame rates. For desk space and ergonomics, a sturdy monitor arm frees up room, and immersive audio from dedicated gaming speakers rounds out the experience.
Cable Management and Airflow Basics
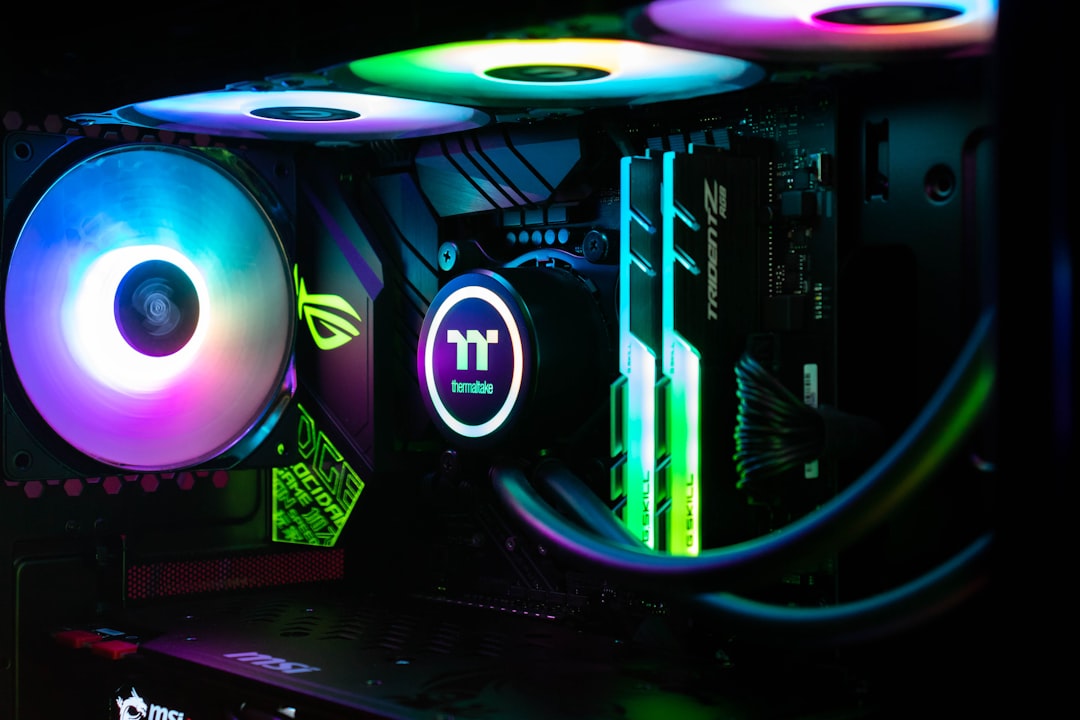
Cable management is the step beginners most often rush, yet it directly affects both how your PC looks and how well it cools itself. Tangled cables block the path of air from your intake fans to your exhaust, trapping heat around the GPU and CPU. The goal is a clear front-to-back airflow channel. Route every cable you can behind the motherboard tray, using the rubber grommets and channels built into modern cases. Bundle excess length with the included Velcro straps or zip ties, and tuck the leftover power-supply cables into the basement compartment most cases provide.
Plan your fan configuration around positive or balanced air pressure. A typical effective layout uses two or three intake fans at the front pulling cool air in, and one or two exhaust fans at the rear and top pushing hot air out. Slightly more intake than exhaust creates positive pressure, which reduces dust buildup because air is forced out through gaps rather than sucked in through unfiltered cracks. Spend ten extra minutes here and you’ll be rewarded with lower temperatures, quieter operation, and a build you’re proud to show through a glass side panel.
Common First-Boot Problems and Solutions
If your build doesn’t spring to life on the first try, don’t panic; this happens to nearly everyone and the causes are predictable. Run through this short checklist before assuming a part is dead. The overwhelming majority of no-boot situations come down to a loose connection or a forgotten cable rather than faulty hardware.
- Fans spin but no display: Re-seat the RAM and GPU firmly until they click, and confirm the monitor is plugged into the GPU, not the motherboard.
- No power at all: Check the PSU’s rear power switch is on and that the front-panel power-button header is connected correctly per the manual.
- Powers on then off in a loop: Verify the 8-pin CPU power cable at the top of the board is fully seated; this is the most-forgotten cable.
- Posts but won’t find your drive: Make sure the M.2 SSD is fully inserted and the bootable USB is recognized in the BIOS boot order.
Many motherboards include diagnostic LEDs or a two-digit code display that points to which component is failing to initialize. Consult the manual’s legend; it can save you a great deal of guesswork by telling you whether the issue is CPU, memory, GPU, or boot device.
Frequently Asked Questions
Is it cheaper to build a gaming PC than buy a prebuilt?
Usually, yes. Building yourself avoids assembly labor costs and lets you choose individual parts that go on sale. The savings are typically $100 to $300 compared to an equivalent prebuilt, plus you avoid generic power supplies and proprietary parts.
How long does it take to build a PC?
A first build takes most people three to five hours when they go slowly and read the manual. Experienced builders finish in under an hour. Don’t rush; patience prevents mistakes.
What if my PC won’t turn on?
The most common culprits are an unseated RAM stick, a forgotten 8-pin CPU power cable, or front-panel power pins connected incorrectly. Re-seat the RAM and GPU first, then verify every power cable is fully clicked in.
Do I need a separate sound card or Wi-Fi card?
Almost never. Modern motherboards include capable onboard audio, and many include Wi-Fi 6E or 7. Buy a board with built-in wireless if you can’t use Ethernet.
Can I reuse parts from an old computer?
Storage drives and sometimes the case or PSU can carry over, but CPUs, RAM, and motherboards are generation-locked. Verify your old PSU has enough wattage and the right connectors before reusing it.
Conclusion
Building a gaming PC is a sequence of simple, logical steps rather than one daunting task. Gather your tools, install components from the inside out, enable your memory profile, and load Windows with fresh drivers. Take your time, trust the manuals, and you’ll end up with a machine you understand inside and out, ready to upgrade for years to come. The confidence you gain from your first successful boot makes every future tweak feel effortless.