🛒 Best Price Today on Amazon
Prime members get fast, free shipping on everything above, plus member-only deals. New members get a 30-day free trial — cancel anytime.
- Build an evidence map before changing settings
- Branch A: artifacts exist in only one game
- Branch B: artifacts follow the monitor path
- Branch C: artifacts began after a driver change
- Branch D: artifacts emerge with temperature
- Branch E: artifacts correlate with tuning
- Check card seating and power last
- When artifacts mean warranty or RMA
GPU Artifacting Fixes: Isolate the Cause
Colored squares, flashing triangles, checkerboards, stretched textures, and sparkling pixels are all described as GPU artifacting, but they do not share one cause. A damaged display cable can mimic bad video memory. A single game can have corrupt shaders. An unstable overclock can look like a dying graphics card. The fastest path is to classify where the corruption appears, then change one variable per test.
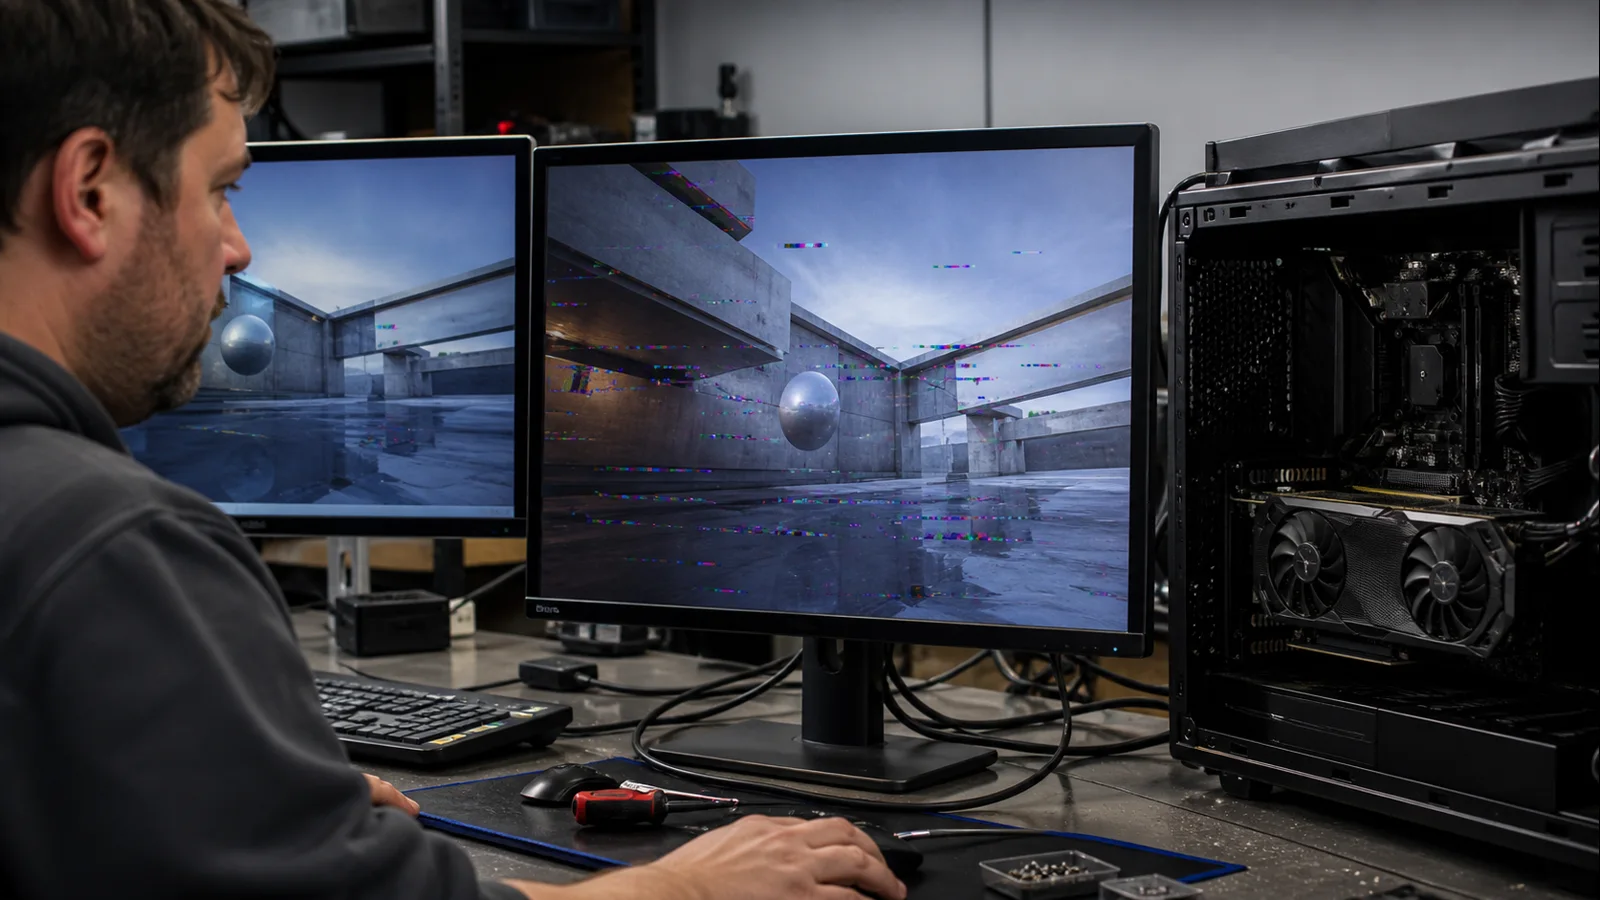
AI-created editorial illustration; not product photography or benchmark evidence.
Build an evidence map before changing settings
Write down when artifacts appear: before Windows loads, on the desktop, only inside one game, during every 3D load, or after the system has warmed up. Capture a screenshot with Windows and also photograph the monitor with a phone.
That pair is informative. If the corruption appears in the saved screenshot when viewed on another device, the fault was generated before the image reached the monitor. If the screenshot is clean but the phone photo shows corruption, concentrate first on the cable, port, adapter, display, refresh rate, and monitor processing. This is a directional clue, not a final diagnosis.
Record the GPU model, driver version, monitor connection, resolution, refresh rate, recent changes, temperature when the issue starts, and whether the system is overclocked or undervolted. Keep the original screenshot files; social-media compression can erase small pixel errors.
Stop all testing for smoke, burning odor, liquid exposure, popping sounds, a visibly damaged power connector, or corruption already present in the motherboard logo or firmware screen. Pre-boot artifacts at factory settings strongly justify manufacturer support rather than hours of Windows repair.
Branch A: artifacts exist in only one game
Start with the least invasive controls. Reset that game’s graphics settings, disable mods and post-processing injectors, verify its files through the launcher, and clear the game’s shader cache using its documented method. Test the same scene, camera angle, resolution, and frame cap after each single change.
If one API is selectable, compare DirectX 11 with DirectX 12 or Vulkan, but change only the API. If corruption follows one renderer while other games and benchmarks remain clean, collect the game’s log and report it to the developer. Do not condemn the GPU based on one title.
Temporarily disable overlays one at a time, including recording, performance, chat, and RGB integrations. An overlay that hooks the rendering path can produce application-specific faults. Restore each disabled item before moving to the next unless it clearly reproduces the issue.
Branch B: artifacts follow the monitor path
Power off the monitor and PC, then reconnect the cable at both ends. Test a different known-good cable of appropriate specification without changing the port. Next test a different port with the original known-good cable. Finally, try the display on another source or the GPU on another monitor. This sequence isolates cable, port, and display instead of replacing all three at once.
Set Windows temporarily to the monitor’s native resolution and a conservative refresh rate. Turn off HDR for one test. If the problem disappears, restore HDR and then restore the higher refresh rate separately. A result at lower bandwidth points toward signal integrity or a display-mode interaction, not automatically a defective GPU.
For DisplayPort, choose a model listed in VESA’s certified components database rather than relying only on an “8K” label. Microsoft also recommends trying another cable, output, or monitor to isolate external-display problems in its monitor connection guide.
Branch C: artifacts began after a driver change
Return every GPU clock, voltage, power limit, and fan setting to factory default before touching the driver. A tuned profile can survive an update and make the new package appear guilty. AMD’s system stability checklist similarly begins with a standard configuration and recommends reviewing release notes or reverting when an issue is documented.
Install the correct driver for the exact GPU. Laptop and all-in-one owners should first check the system manufacturer’s package because switchable graphics and custom power controls may depend on it. Follow our guide to updating GPU drivers for a controlled install, then reboot and reproduce the same scene.
If artifacts started on the current release, test one known-stable prior version. Do not hop through a dozen drivers or use registry “optimizers.” If the previous version fixes the exact test while the current version reliably restores the fault, save both version numbers and submit a vendor bug report.
Branch D: artifacts emerge with temperature
Start from a cold PC. Log GPU core temperature, hotspot temperature if exposed, memory temperature if supported, clock, power, and fan RPM. Run the lightest workload that reliably triggers corruption and stop as soon as it appears. Do not continue a long stress test to “see how bad it gets.”
Repeat after removing dust from accessible filters and ensuring every case fan operates in its intended direction. Do not remove the GPU heatsink. If the onset is delayed or eliminated by better case airflow, follow the non-invasive steps in our GPU temperature guide. A thermal correlation can involve the card, case, or ambient environment; it does not prove thermal paste is the culprit.
Keep the side panel installed for the baseline. If you later test with it removed, that must be the only change. A large improvement indicates an airflow question, while no improvement keeps attention on the card or software. Avoid touching a hot backplate or cooler.
Branch E: artifacts correlate with tuning
Factory defaults are the diagnostic baseline. Remove GPU and VRAM overclocks, custom voltage curves, raised power limits, CPU overclocks, and memory profiles one category at a time. Begin with GPU tuning because it is closest to the symptom. Use the same repeatable workload after each reset.
If default GPU settings cure the artifacts, the old tune was not stable even if it worked for months. Silicon behavior can shift with room temperature, dust, game engines, and driver workloads. Do not hide failing memory with a large underclock and call the card repaired during its warranty period.
Undervolting is useful only after the system is artifact-free at stock. Our GPU undervolting walkthrough emphasizes incremental changes and stability checks. It should never be used to compensate for corruption at manufacturer defaults.
Check card seating and power last
Hardware handling is appropriate only when warranty terms allow it and artifacts began after transport or assembly. Shut down, switch off and unplug the PSU, wait for lights to extinguish, and use antistatic precautions. Photograph cable routing first.
Confirm the card is fully seated and its PCIe power connectors are latched. Use only cables approved for that exact PSU. Never interchange modular PSU cables. If a riser is installed, a direct motherboard-slot test can isolate it, but support the card and follow the board manual. Make only that change before retesting.
Do not remove the backplate, cooler, thermal pads, or memory heatsink. Pad thickness and placement are model-specific, and opening the card can complicate warranty service. Do not bake, heat-gun, reflow, or freeze a graphics card; those internet remedies are unsafe and do not create a durable, supportable repair.
When artifacts mean warranty or RMA
Request service when corruption appears in firmware or during boot, occurs across multiple known-good displays and cables, persists through a correct driver at factory settings, or reproduces in several independent 3D applications. Artifacts paired with driver resets, Code 43, crashes, or a failed vendor diagnostic make the case stronger. Microsoft notes that Device Manager Code 43 can reflect either hardware or driver failure, so include the code without treating it as proof by itself.
For the support ticket, provide unedited photos, screenshots viewed on another device, exact reproduction steps, driver versions tested, temperatures, cable and monitor substitutions, and confirmation that clocks are at default. If the card is in its return window, favor replacement over invasive repair.
The goal is not to make artifacts disappear once. It is to identify a repeatable boundary: one game, one signal path, one driver, one thermal condition, one tuning profile, or the card itself. Controlled evidence turns a vague visual glitch into either a safe fix or a persuasive RMA.