🛒 Best Price Today on Amazon
Prime members get fast, free shipping on everything above, plus member-only deals. New members get a 30-day free trial — cancel anytime.
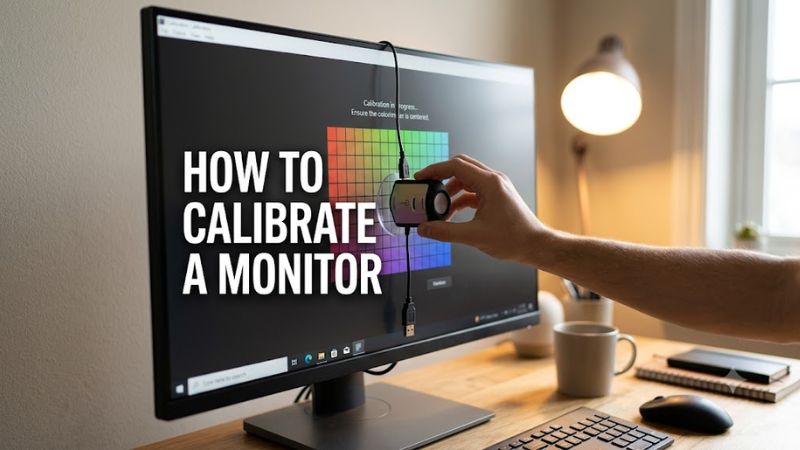
How to calibrate a monitor starts with selecting the correct display mode, setting comfortable brightness, and adjusting color with Windows tools. These steps can improve the appearance of PC games, videos, and desktop content without buying calibration equipment. For greater color accuracy, a hardware colorimeter may be necessary.
Quick answer: Our top pick in 2026 is the Setting — our #1 rated choice. See the full ranked comparison, alternatives and buying advice below.
What Monitor Calibration Really Comes Down To
Monitor calibration means adjusting a display toward a defined visual target, while basic picture tuning means choosing settings that look appropriate for your room and preferences. Windows includes free calibration tools, but visual adjustments alone cannot guarantee accurate colors. The best starting point is to establish consistent lighting and remove settings that distort the image.
Start With the Right Picture Mode
Choose your monitor’s Standard, Custom, or sRGB picture mode when available. These modes generally provide a more useful starting point than vivid or dynamic presets, which may exaggerate saturation and contrast. Names and behavior vary by manufacturer, so compare the image rather than assuming a particular label always produces the most accurate result.
For gaming, check whether the monitor has separate picture presets for SDR, HDR, and individual game modes. An FPS preset may brighten dark areas or alter colors to improve visibility, but that does not make it suitable for color-critical work. Record your original settings so you can restore them if the new image looks worse.
Match Brightness to Your Room
Brightness controls the screen’s light output, not the accuracy of its colors. Start at a moderate level and adjust until white backgrounds look comfortable without appearing painfully bright. In a dark room, excessive brightness can cause discomfort; in a bright room, a dim display may make shadow detail difficult to see.
External monitors commonly use physical buttons or an on-screen display (OSD) menu to control brightness. Windows may not offer a brightness slider for an external display, so use the monitor’s own controls. Keep your room lighting reasonably consistent while adjusting settings, because changes in ambient light can affect how bright and neutral the image appears.
Understand Gamma, Contrast, and Black Levels
Gamma affects how brightness is distributed across midtones, while contrast controls the separation between bright and dark output. If gamma is too high or too low for the intended target, images can look washed out or overly dark. Use the Windows calibration patterns to compare the appearance of midtones rather than guessing from a game’s menus.
Black-level and contrast controls vary with display technology and input range. Raising contrast too far can hide detail in bright areas, while an incorrect black-level setting can crush shadows or make blacks look gray. Avoid changing several controls at once; adjust one, inspect dark and bright details, and revert it if the picture loses information.
What Does Not Help Calibration
Night Light, blue-light reduction, and vivid color enhancements are designed for comfort or appearance, not neutral color reproduction. Night Light deliberately warms the image, so disable it temporarily while adjusting white balance. Similarly, GPU saturation sliders can make games look more colorful without making their displayed colors more accurate.
There is no universal calibration profile that works perfectly for every monitor, even when two units share the same model number. Panel variation, display settings, and viewing conditions affect the result. Downloading another owner’s ICC profile may be a useful starting point, but it cannot replace measurements of your own display when accuracy matters.
How to Calibrate a Monitor: Step by Step
The simplest software-based approach is to use Windows display calibration, then check the result in your normal games and applications. For an external monitor, combine Windows settings with the monitor’s OSD controls. If you use HDR, calibrate HDR separately rather than assuming an SDR profile will produce the same result.
| Setting | Where | Effect | Risk |
| Picture mode | Monitor OSD | Establishes a color and contrast baseline | Some modes alter saturation or brightness |
| Brightness and contrast | Monitor OSD | Adjusts overall light output and tonal detail | Excessive changes hide image detail |
| Gamma and color balance | Windows Color Calibration | Refines midtones and RGB balance | Visual adjustments may remain inaccurate |
| HDR calibration | Windows HDR Calibration app | Sets HDR shadow and highlight limits | Applies to HDR use, not every SDR workflow |
Prepare the Display Before Adjusting It
Turn on the monitor and allow it to warm up before making detailed adjustments. Dell recommends allowing an LCD panel to run for about 30 minutes before calibration. Clean the screen with an appropriate display-safe method, position it at a comfortable viewing angle, and avoid direct sunlight or strong colored lighting falling on the panel.
Restore the monitor’s default or Standard picture mode if you have made extensive changes previously. Disable Night Light and other color-altering features temporarily, and select the display you actually want to calibrate if you use multiple monitors. These preparations make comparisons more consistent, though they do not establish laboratory-grade color accuracy.
Open the Windows Display Calibration Tool
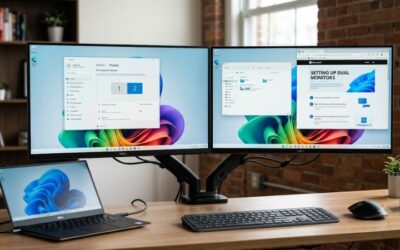
On Windows 11, open Settings, select System, then Display, and look under Color profile for the calibration option. You can also search Windows for “Calibrate display color” to locate the relevant wizard. Depending on the Windows version and interface, the option may appear through the Color Management control panel instead.
Follow the on-screen examples to adjust gamma, brightness, contrast, and color balance where the tool provides those controls. Use the monitor’s physical controls when Windows cannot change a setting directly. Compare the before-and-after views and save the resulting profile only when the image looks more consistent. Windows creates a color profile for the display being calibrated.
Adjust Color Balance and Check the Result
The calibration wizard can guide you through red, green, and blue balance. Aim for neutral grays without an obvious red, green, or blue tint. If the display has RGB controls in its OSD, use small adjustments and compare neutral test images afterward. Avoid copying RGB values from a different monitor, because individual panels can behave differently.
Next, inspect photos, neutral backgrounds, bright skies, and dark game scenes. Check that highlights retain detail and shadows remain visible without making the entire image look washed out. The Windows wizard provides a convenient starting point, but a colorimeter and suitable calibration software are more appropriate when you need measured white point, luminance, and color accuracy for professional work.
Calibrate HDR Separately When Needed
For an HDR-capable external monitor, use the Windows HDR Calibration app from the Microsoft Store on Windows 11. Enable HDR for the selected display in Settings, open the app in full-screen mode, and follow its patterns to set the darkest visible detail, brightest visible detail, and maximum brightness. Adjust the saturation option only to your preference.
The app requires an HDR-capable display, HDR enabled, and compatible graphics hardware and drivers. Microsoft lists NVIDIA GTX 10-series or later, AMD Radeon RX 400-series or later, and supported Intel graphics among the hardware requirements for its calibration features. These are app requirements, not a guarantee that every HDR monitor supports every HDR capability. For a built-in laptop display, Windows also offers a separate HDR video calibration feature; do not use that built-in-display workflow for an external monitor.
Frequently Asked Questions
How often should I calibrate my monitor?
Revisit your monitor settings whenever the display changes noticeably, you update its picture mode, or your work requires consistent color accuracy. For everyday gaming, frequent calibration is usually unnecessary if the image remains consistent. Displays can change over time, however, and professional workflows may benefit from periodic measurement with a colorimeter rather than relying on visual checks alone.
Can I calibrate my monitor without a colorimeter?
Yes, Windows includes free calibration tools that let you adjust gamma and color balance without additional hardware. These tools are useful for basic picture tuning, but your eyes cannot measure exact color output or luminance. If you edit photographs, produce print-ready artwork, or need dependable color matching across displays, consider a compatible colorimeter and calibration software.
Should I use the same calibration for gaming and work?
Not necessarily, because competitive gaming, everyday use, and color-sensitive work can have different priorities. A game preset may brighten shadows or emphasize saturation, while creative applications may benefit from a more neutral picture mode. Keep separate presets if your monitor supports them, and remember that changing the display mode can affect how a saved color profile behaves.
Does Windows HDR Calibration work with every monitor?
No, Windows HDR Calibration requires Windows 11, an HDR-capable display, HDR enabled, and compatible graphics hardware and drivers. The app is intended for HDR displays and includes patterns for adjusting shadow visibility, highlight visibility, and maximum brightness. If your display does not support HDR, use the standard Windows display calibration workflow instead.
Final Thoughts
Learning how to calibrate a monitor gives you a practical way to improve everyday viewing without purchasing extra equipment. Start with a neutral picture mode, adjust brightness for your room, and use Windows calibration for basic color tuning. For HDR, follow the dedicated Windows workflow; for professional color accuracy, use measurement hardware and a suitable profile.
Ready to decide? Our #1 pick for 2026 is the Setting.
Live price & availability on Amazon.