🛒 Best Price Today on Amazon
Prime members get fast, free shipping on everything above, plus member-only deals. New members get a 30-day free trial — cancel anytime.
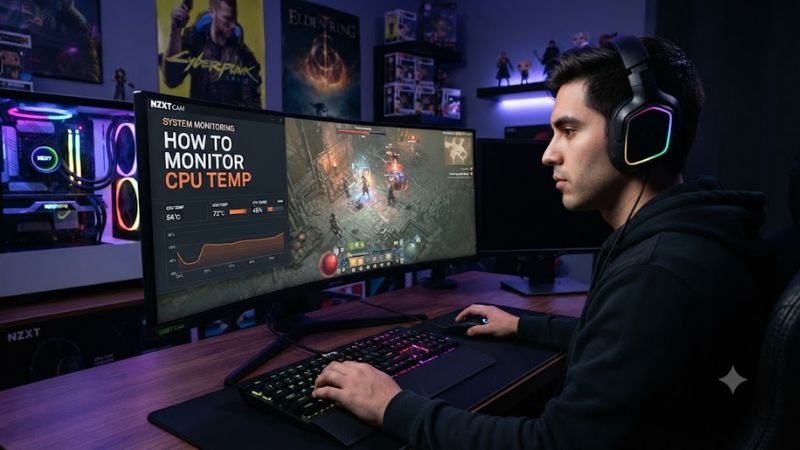
Checking how to monitor cpu temp is useful when a gaming PC feels unusually hot, clocks drop, or cooling behavior changes. Windows 11 does not provide a standard CPU-temperature reading in Task Manager, so a sensor utility such as HWiNFO is the practical choice for live readings.
Quick answer: For most people in 2026, the best how to monitor cpu temp is the Setting — our #1 rated choice. See the full ranked comparison, alternatives and buying advice below.
What CPU Temperature Monitoring Really Comes Down To
The key is not simply finding the highest number on screen, but identifying the processor sensor that represents the reading you need. A hardware monitor can expose several values, while BIOS provides a useful idle reference. For sustained gaming or heavy workloads, monitoring inside Windows gives more useful context because the CPU is operating under its normal software and cooling conditions.
Understand What the Sensor Is Reporting
A CPU temperature monitor may show package, core, die, or motherboard readings, and those values are not interchangeable. HWiNFO identifies many hardware sensors individually, while its documentation and forum guidance explain that different CPU families calculate temperature values differently. The safest approach is to identify the sensor associated directly with your processor rather than assuming every “CPU” label means the same thing.
For Intel processors, HWiNFO commonly exposes CPU Package and individual core-related readings. Intel explains that Tjunction max is the temperature at which internal thermal controls can reduce power and frequency, but the exact limit varies by processor. That means a generic temperature target should not replace the thermal specification for your particular CPU.
Compare Idle and Gaming Readings
A single idle number is not enough to judge cooling. Background applications, fan curves, ambient temperature, boost behavior, and the workload can all change the reading. BIOS or UEFI can provide a baseline before Windows loads, but that value represents a lightly loaded state and should not be treated as the temperature your CPU reaches during gaming.
For gaming, record the current and maximum readings while the game is actually running. A brief spike is different from sustained high temperature, so the maximum should be considered alongside CPU utilization, clock behavior, fan speed, and whether thermal controls are being triggered. This gives a more useful picture than judging the processor from one screenshot.
Know When a Temperature Needs Attention
There is no universal “normal” CPU temperature that applies to every Intel or AMD processor. Tom’s Hardware notes that desktop temperatures can vary substantially by processor and workload, while Intel states that maximum operating temperature is model-specific. Check your CPU manufacturer’s specification before treating a particular number as a fault.
If temperatures repeatedly approach the processor’s specified thermal limit during ordinary workloads, investigate cooling rather than changing unrelated Windows settings. Check fan operation, cooler mounting, airflow, dust buildup, and thermal-interface condition first. For a new system, unusually high readings can also point to an installation problem with the CPU cooler.
What Doesn’t Help
A RAM cleaner, registry tweak, or telemetry-disabling script is not a meaningful method for lowering CPU temperature. Those changes do not directly improve the physical heat-transfer path between the processor and cooler, and they can distract from the actual cause of a high reading.
Likewise, changing a monitoring application because two sensors show different values does not automatically solve a cooling issue. HWiNFO’s author explains that AMD processors can expose multiple temperature values calculated from different sensor groups, so differences can be expected rather than evidence that one reading is necessarily broken.
How to Monitor CPU Temperature: Step by Step
The simplest workflow starts with a software sensor utility, then adds useful display and logging options before considering physical cooling changes. HWiNFO supports Windows monitoring across x86, x64, and ARM64 platforms, while HWMonitor also supports Windows x86/x64 and ARM64. Both can read CPU temperature and other system sensors, but HWiNFO exposes more detailed information.
| Setting | Where | Effect | Risk |
| HWiNFO Sensors-only | HWiNFO startup | Shows live CPU sensors | Low; close the program to undo |
| Sensor display | HWiNFO settings | Keeps key readings easy to find | Low; disable the display to undo |
| HWMonitor alternative | Windows desktop | Provides a simpler hardware-monitor view | Low; uninstall to undo |
| Cooling inspection | PC case or laptop service area | Addresses sustained excessive heat | Medium; power off before physical work |
Step 1: Open HWiNFO and Find the CPU Sensor
To start how to monitor cpu temp, download HWiNFO from its official site and launch the application in Sensors-only mode. The sensor window reports current, minimum, maximum, and average values for supported hardware. On an Intel system, look for the CPU-related package or core readings; on AMD, the labels can differ by processor generation.
Do not compare a motherboard socket sensor directly with an internal CPU sensor without checking what each value represents. HWiNFO can expose CPU, motherboard, GPU, storage, and other readings in the same window, so selecting the wrong row can produce a misleading conclusion. If you close HWiNFO, monitoring stops, which is the simplest way to undo this step.
Step 2: Configure a Useful Temperature Display
Once the sensor is identified, configure the monitoring view around the values that matter for your workload. HWiNFO supports customizable sensor displays, tray information, graphs, and integration with on-screen-display tools, allowing CPU temperature to remain visible while a game is running.
For a gaming check, keep the CPU temperature, utilization, clock behavior, and maximum temperature visible rather than filling the screen with every available sensor. If you prefer not to see an overlay, leave HWiNFO in the background and review its maximum value after the session. Removing the sensor display restores the simpler monitoring view.
Step 3: Use HWMonitor for a Simpler Cross-Check
If HWiNFO presents more information than you need, HWMonitor is a straightforward alternative. CPUID says its current Windows application reads temperatures, voltages, powers, currents, fan speeds, utilization, and clock speeds, with support for Windows x86/x64 and ARM64. This makes it useful for a second reading when troubleshooting a sensor discrepancy.
A cross-check is most useful when the readings differ unexpectedly or a monitoring application does not expose the sensor you need. Compare equivalent sensor types rather than matching labels visually. If the simpler interface is no longer useful, close or uninstall HWMonitor; no BIOS change or Windows registry modification is required.
Step 4: Inspect Cooling Only When Readings Point There
Hardware changes should come last, after monitoring establishes a repeatable temperature pattern. If the processor repeatedly approaches its specified thermal limit, inspect the cooler, fan operation, heatsink or radiator condition, mounting, and case airflow. Intel specifically recommends using the processor’s product specifications when determining its temperature limit.
For desktop PCs, this may mean checking that the CPU cooler is properly mounted and that its fan or pump operates correctly. For laptops, cooling work is more model-specific and can require manufacturer procedures. Shut the system down before physical inspection, and do not change cooler hardware simply because one short temperature spike appears.
FAQ: Common CPU Temperature Monitoring Questions
How do I monitor CPU temperature in Windows 11?
The easiest way to monitor CPU temperature in Windows 11 is to use HWiNFO in Sensors-only mode. Microsoft’s standard Task Manager CPU view provides processor utilization and hardware information but does not provide a standard CPU-temperature field, so dedicated sensor software remains the practical approach.
HWiNFO can show real-time CPU and system sensors, while its official documentation supports Windows 11 and current x86, x64, and ARM64 platforms. If you only need a quick reading, HWMonitor is another current option with Windows x86/x64 and ARM64 support.
Is HWiNFO better than HWMonitor for CPU temperature?
HWiNFO is generally more detailed than HWMonitor for CPU temperature monitoring because it exposes a broader set of hardware sensors and monitoring information. Its official documentation describes real-time monitoring across CPUs, GPUs, motherboards, drives, peripherals, graphs, reports, and customizable sensor displays.
HWMonitor is useful when you want a simpler interface covering temperatures, voltages, power, fans, utilization, and clocks. The choice therefore depends on how much information you need rather than a universal accuracy ranking. Both programs can be useful when diagnosing unusual CPU temperatures.
What CPU temperature should I watch while gaming?
You should watch the processor sensor recommended for your CPU family and compare sustained readings with the manufacturer’s thermal specification. Intel states that maximum operating temperature varies by processor, while AMD’s monitoring documentation also describes temperature values as processor-dependent metrics rather than one universal threshold.
For AMD Ryzen systems, HWiNFO may show values such as CPU (Tctl/Tdie) and CPU Die (average), and the HWiNFO author explains that these can represent different calculations. Do not automatically treat the highest visible number as a fault without checking what that sensor represents.
Can I check CPU temperature without installing software?
Yes, you can check CPU temperature through BIOS or UEFI if your motherboard exposes a CPU temperature sensor there. This method is useful as an idle baseline, but it does not represent the processor’s temperature during a Windows gaming workload because the CPU is generally under little load before the operating system starts.
Enter the firmware interface during startup and look for a section such as Hardware Monitor, PC Health, or Status, depending on the motherboard. For gaming diagnostics, return to Windows and use a hardware monitor so you can observe temperature while the actual workload is running.
Final Thoughts
Knowing how to monitor cpu temp is mainly about choosing the correct sensor, observing it under the workload that matters, and comparing sustained readings with the CPU’s own specifications. HWiNFO is the most informative starting point, while BIOS provides a useful idle reference and hardware inspection belongs after monitoring identifies a genuine cooling concern.
Ready to decide? Our #1 pick for 2026 is the Setting.
Live price & availability on Amazon.