Adding an M.2 NVMe SSD is the fastest, cleanest storage upgrade you can make to a modern PC. There are no cables to route, the drive slots directly onto the motherboard, and speeds leave any SATA drive far behind. A current Gen4 drive like a Samsung 990 PRO reads at up to 7,450 MB/s, and Gen5 models push well past 14,000 MB/s, slashing load times and file transfers.
This guide walks you through installing an M.2 SSD from start to finish, including the small screw and heatsink details that trip people up. With a screwdriver and a few minutes, you can add blazing storage to almost any recent build.
As an Amazon Associate we earn from qualifying purchases at no extra cost to you.


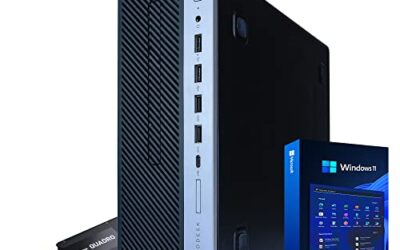
⚡ Save on Your Next PC — Amazon Prime
Prime members get fast free shipping on the systems above, plus early access to Prime Day & Black Friday PC deals. New members get a 30-day free trial.
Watch: How to Install an M.2 NVMe SSD — Video Review
Check Slot Type and Compatibility
First, confirm your motherboard has a free M.2 slot and what it supports. Most gaming boards have two or more slots, but they can differ: one may be Gen5 wired to the CPU while another is Gen4 through the chipset. Check the manual so you install a fast drive in the fastest slot and understand any lane-sharing that disables a SATA port.
Also confirm the drive length. The common 2280 size fits most desktops, while compact 2230 drives like a WD SN740 suit handhelds and small form factors. Buy the length your slot supports.
Gather Tools and Prepare
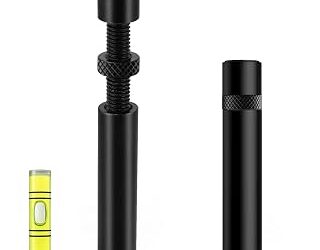
You need very little: a Phillips screwdriver and the tiny M.2 mounting screw. Many boards include the screw and standoff, but if yours is missing one, a dedicated M.2 screw kit is inexpensive and saves a trip. Power down fully, unplug the PC, and discharge static by touching bare metal before you begin.
- Have the M.2 standoff positioned for your drive’s length before inserting.
- Keep the tiny mounting screw somewhere it will not roll away.
- If your board has a tool-less M.2 latch, no screw is needed.
- Remove the M.2 heatsink cover if your slot has one, keeping its thermal-pad film for later.
Insert and Secure the Drive
Angle the SSD into the slot at roughly 30 degrees, lining up the notch so it only fits one way, then push it in until it seats. Press the raised end down flat against the standoff and secure it with the mounting screw, or close the tool-less latch. Do not overtighten; the screw only needs to hold the drive flush.
If your board includes an M.2 heatsink, peel the protective film from its thermal pad and reinstall the cover over the drive. A heatsink keeps a fast Gen4 or Gen5 SSD from throttling under sustained load.
Initialize and Format in Windows
Power on and enter BIOS to confirm the drive is detected. If you are installing Windows fresh, boot from your installer and select the new SSD. If you are adding it as extra storage, open Disk Management in Windows, initialize the disk with the GPT partition style, then create and format a new volume.
Once formatted, the drive appears in File Explorer ready to use. To clone an existing system onto it, a tool-free NVMe-to-USB enclosure lets you connect the new drive externally and copy your old install across before making it the boot drive.
Tips
- Install your fastest drive in the CPU-connected M.2 slot for peak speed.
- Use a heatsink on Gen4 and Gen5 drives to avoid thermal throttling.
- Match the drive length (2280 or 2230) to what your slot accepts.
- Keep a spare M.2 screw kit on hand since the screws are easy to lose.
Frequently Asked Questions
Do I need a heatsink for my M.2 SSD?
For fast Gen4 and Gen5 drives, yes, to prevent throttling under heavy load. Slower drives run cool enough without one, though a heatsink never hurts.
Why is my new SSD not showing up?
Confirm it is fully seated and secured, then check BIOS. In Windows, a new drive must be initialized and formatted in Disk Management before it appears in File Explorer.
Can I install any M.2 drive in any slot?
Not always. Some slots are SATA-only or share lanes with other ports, and lengths differ. Check your manual for slot type, supported keys, and length.
How do I move Windows to the new SSD?
Clone your old drive using cloning software, often via an NVMe-to-USB enclosure, then set the new SSD as the boot device in BIOS.
Conclusion
Installing an M.2 NVMe SSD is a fast, cable-free upgrade that delivers a dramatic jump in load and transfer speeds. Confirm slot type and drive length, seat the drive at an angle and secure it without overtightening, add a heatsink for Gen4 or Gen5, then initialize and format in Windows. In a few minutes you will have storage that makes the rest of your rig feel quicker.