🛒 Best Price Today on Amazon
Prime members get fast, free shipping on everything above, plus member-only deals. New members get a 30-day free trial — cancel anytime.
- Rung 1: establish exactly when video disappears
- Rung 2: correct the input and perform a clean handshake
- Rung 3: isolate the cable, then each endpoint
- Rung 4: recover a Windows display mode
- Rung 5: separate monitor firmware settings from Windows
- Rung 6: repair the graphics-driver path
- Rung 7: inspect GPU power and seating
- When to stop and use warranty service
- Top Pick: Cable Matters Active DisplayPort Repeater, DP Signal Booster, 4K@240Hz
- Best Value: Elecan Uni-Directional DisplayPort to USB-C Adapter Cable 25 Ft 4K@60Hz 2K 1080P, No USB Power Needed, Display Port DP Converter for Touch,iPad,Mac,Portable Monitor,VR/XR/AR+Ties-NOT USB C to DP
- Premium Choice: UGREEN 4K DisplayPort to HDMI Unidirectional Adapter 1080P@120Hz, 0.66FT
DisplayPort No Signal: A Fix Ladder
“DisplayPort no signal” means the monitor is powered but cannot establish a usable video link. The failure may sit at the selected input, cable, port, adapter, graphics driver, display mode, GPU, or monitor. Follow this ladder from reversible checks to hardware handling. After every step, test the same PC, monitor, port, cable, and power state unless the step explicitly changes one of them.
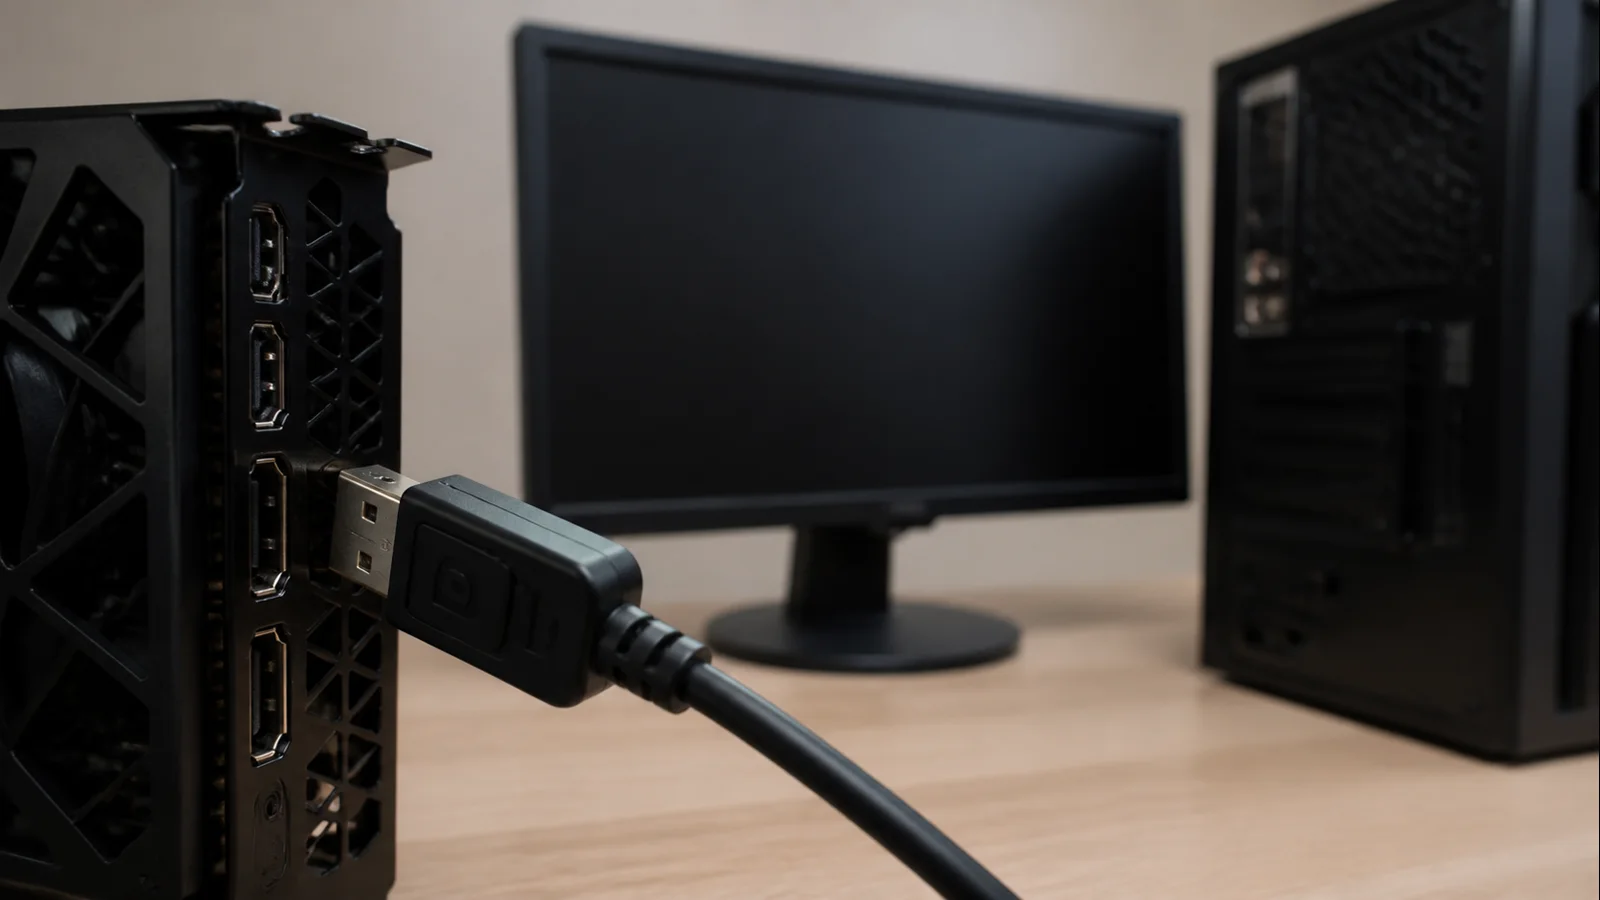
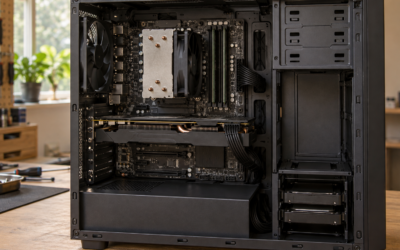
AI-created editorial illustration; not product photography or benchmark evidence.
As an Amazon Associate we earn from qualifying purchases at no extra cost to you.




Rung 1: establish exactly when video disappears
Observe the full startup. Do you see the motherboard logo and then lose the picture when Windows loads, or is there no image from power-on? A logo followed by darkness makes a Windows mode or driver problem more plausible. No firmware image keeps the cable, selected input, port, monitor, GPU seating, and GPU power in scope.
If another connection works, note whether it is connected to the graphics card or motherboard. On a desktop with a discrete GPU, the monitor normally belongs on the GPU’s output. A motherboard port may depend on an enabled integrated GPU and therefore is not an equivalent test.
Stop if a connector is scorched, bent, loose in the device, or unusually hot. Do not keep reconnecting damaged equipment. Shut down, unplug it, and seek repair. Also stop for a burning smell, sparks, liquid exposure, or repeated power cycling from the PC.
Rung 2: correct the input and perform a clean handshake
Use the monitor’s physical controls to select the exact DisplayPort input instead of Auto. If the display has DP 1.1, 1.2, 1.4, or compatibility options, record the current choice but do not alter it yet.
Shut down the PC. Turn off the monitor and unplug its power for 60 seconds. Disconnect the DisplayPort cable at both ends. Reconnect it firmly, power the monitor, select DisplayPort, then start the PC. This clears a stuck source-to-display negotiation without changing software.
For a dock or KVM, remove the intermediary for one direct GPU-to-monitor test. USB-C-to-DisplayPort connections require the computer’s USB-C port to support video output; connector shape alone does not guarantee that capability. If a direct link works, investigate the dock, KVM, adapter, its firmware, and its bandwidth limits rather than changing the GPU.
Rung 3: isolate the cable, then each endpoint
Replace only the cable with a short, known-good cable suitable for the desired mode. Avoid stacking adapters or extension leads. VESA maintains an official list of DisplayPort-certified components and cables, which is more meaningful than an unverified bandwidth claim on a marketplace listing.
If the replacement cable fails, return to one cable and change only the GPU output port. Then change only the monitor input if it has another DisplayPort socket. Finally, cross-test: connect the monitor and cable to another DisplayPort source, or connect the PC to another known-good monitor.
Write the results as a small matrix. “Cable B works on both GPU ports; Cable A works nowhere” identifies a cable much better than “I unplugged everything and now it works.” Microsoft’s external-monitor troubleshooting guide likewise recommends another cable, port, display, and system to isolate the failing element.
Never use a cable with damaged latches or a plug that requires force. Depress a locking DisplayPort connector before removal. Pull the plug, not the cable body.
Rung 4: recover a Windows display mode
If Windows is running but the screen is blank, press Windows + Ctrl + Shift + B once. Microsoft documents this shortcut as a graphics-driver reset in its blank-screen guidance. A beep or brief flicker indicates Windows received the command; silence does not identify the failed part.
Press Windows + P, then use the display-mode menu to choose Duplicate or Extend if you can see another screen. Disconnect extra monitors and restart with only the problem display attached. Multiple remembered layouts can place output on a screen that is no longer present.
When HDMI or another monitor provides access to Windows, set the DisplayPort monitor to its native resolution and 60 Hz before moving the cable back. Disable HDR and variable refresh rate for this test. If DisplayPort works at the conservative mode, restore one feature at a time: first native refresh, then HDR, then adaptive sync. The feature that breaks the link identifies the boundary.
Do not set a custom resolution or timing while troubleshooting. A black screen after a custom mode should be allowed to revert automatically; if it does not, use Safe Mode rather than repeatedly forcing shutdowns.
Rung 5: separate monitor firmware settings from Windows
Some monitors expose a DisplayPort version or compatibility mode. With a working backup connection available, change only that setting—for example, from a newer mode to compatibility mode—and test again. Lower-bandwidth compatibility can restore a link, but it may reduce maximum resolution, refresh rate, HDR, or multi-stream capability.
Resetting the monitor to factory defaults can clear a bad input or color configuration, but record calibrated color settings first. A factory reset deletes those adjustments. Do not update monitor firmware unless the manufacturer lists this symptom, the exact model matches, stable power is available, and you can follow its recovery procedure. Firmware interruption can make the monitor unusable.
Rung 6: repair the graphics-driver path
If firmware video appears and DisplayPort fails only when Windows loads, boot using a working output or Windows Safe Mode. Check Device Manager under Display adapters and Monitors. An absent discrete GPU needs a different branch; follow our GPU not detected guide before treating this solely as a DisplayPort fault.
Record the installed driver version. If the problem began after an update, roll back that one driver. If files may be corrupt, reinstall the correct package for the exact GPU and reboot once. Microsoft includes driver rollback and reinstallation in its external-monitor procedure. Our GPU driver update guide provides a clean, vendor-aware sequence.
Keep the monitor cable and mode unchanged during the driver test. Do not update the motherboard BIOS simultaneously. If the older driver restores DisplayPort and the new driver predictably breaks it, preserve version numbers and report the regression to the GPU vendor.
Rung 7: inspect GPU power and seating
Reach this rung only when no known-good display receives firmware video from any GPU port, or the problem began after transport or component work. First check the PC or component warranty. Opening a prebuilt chassis or removing a card may change support options.
Shut down, switch off the PSU, unplug mains power, wait for lights to extinguish, and use antistatic precautions. Confirm the graphics card is level, fully inserted, and supplied by every required PCIe power connector. Never connect a modular cable from a different PSU model. Do not open the monitor or graphics card.
If reseating is permitted, photograph connections, support the card, release the slot latch correctly, then reseat it as the only change. If you use a PCIe riser, a direct-slot test can isolate it. If this feels uncertain, stop and use a qualified technician; damaged slots and connectors are more expensive than the original signal fault.
When to stop and use warranty service
Request monitor service when its DisplayPort input fails with multiple certified or known-good cables and multiple proven sources while its other inputs work. Request GPU or system service when no output port produces pre-boot video on known-good displays, the GPU is missing or repeatedly reports a device error after a correct driver install, or the connector is physically loose or damaged.
Do not flash unofficial GPU firmware, open the monitor, replace a GPU output socket, or force a plug to finish diagnosis. Those are board-level repairs with shock, fire, and warranty risks. During a return window, exchange is usually safer than disassembly.
Give support a concise test matrix: PC and GPU models, monitor model and firmware, cable models, ports tested, whether firmware appeared, resolutions and refresh rates tried, driver versions, and cross-test results. A controlled ladder replaces “no signal” with a specific failing path—and often fixes it long before hardware service is necessary.