🛒 Best Price Today on Amazon
Prime members get fast, free shipping on everything above, plus member-only deals. New members get a 30-day free trial — cancel anytime.
- Observe what survives the blackout
- Build the lowest-bandwidth display test
- Test the cable and ports without creating noise
- Separate a driver reset from a link drop
- Check fullscreen, refresh, and variable refresh behavior
- Inspect load-dependent temperature and power
- Use a clean confirmation order
- When this is actually a no-signal boot problem
- Stop and request service when risk rises
- Official references
- Top Pick: Samsung 27" Odyssey G5 (G51F) Series QHD (1440P) Gaming Monitor
- Best Value: AOC 24 Inch Gaming Monitor FHD 144Hz Fast IPS 0.5ms HDR, 24G51F
- Premium Choice: LG 24G411A-B 24-inch Ultragear Full HD (1920 x 1080) IPS Gaming Monitor, 144Hz (O/C), 1ms MBR, NVIDIA G-Sync Compatible, AMD FreeSync, HDR10, HDMI, DisplayPort, Slim Stand, Black
Monitor Loses Signal While Gaming: Fix Guide
When a monitor loses signal during a game but works on the desktop, the failure belongs to a different category than a PC that shows no image from the moment it starts. Under gaming load, the display link may be switching bandwidth or refresh behavior, the graphics driver may be recovering, or the GPU may be encountering a temperature or power problem. A no-signal boot instead points first to input selection, hardware detection, cabling, seating, or startup hardware.
Use the symptoms to choose a branch. Do not buy a new graphics card because the monitor displayed “No Signal”; that message only says the monitor stopped receiving a usable stream.
As an Amazon Associate we earn from qualifying purchases at no extra cost to you.






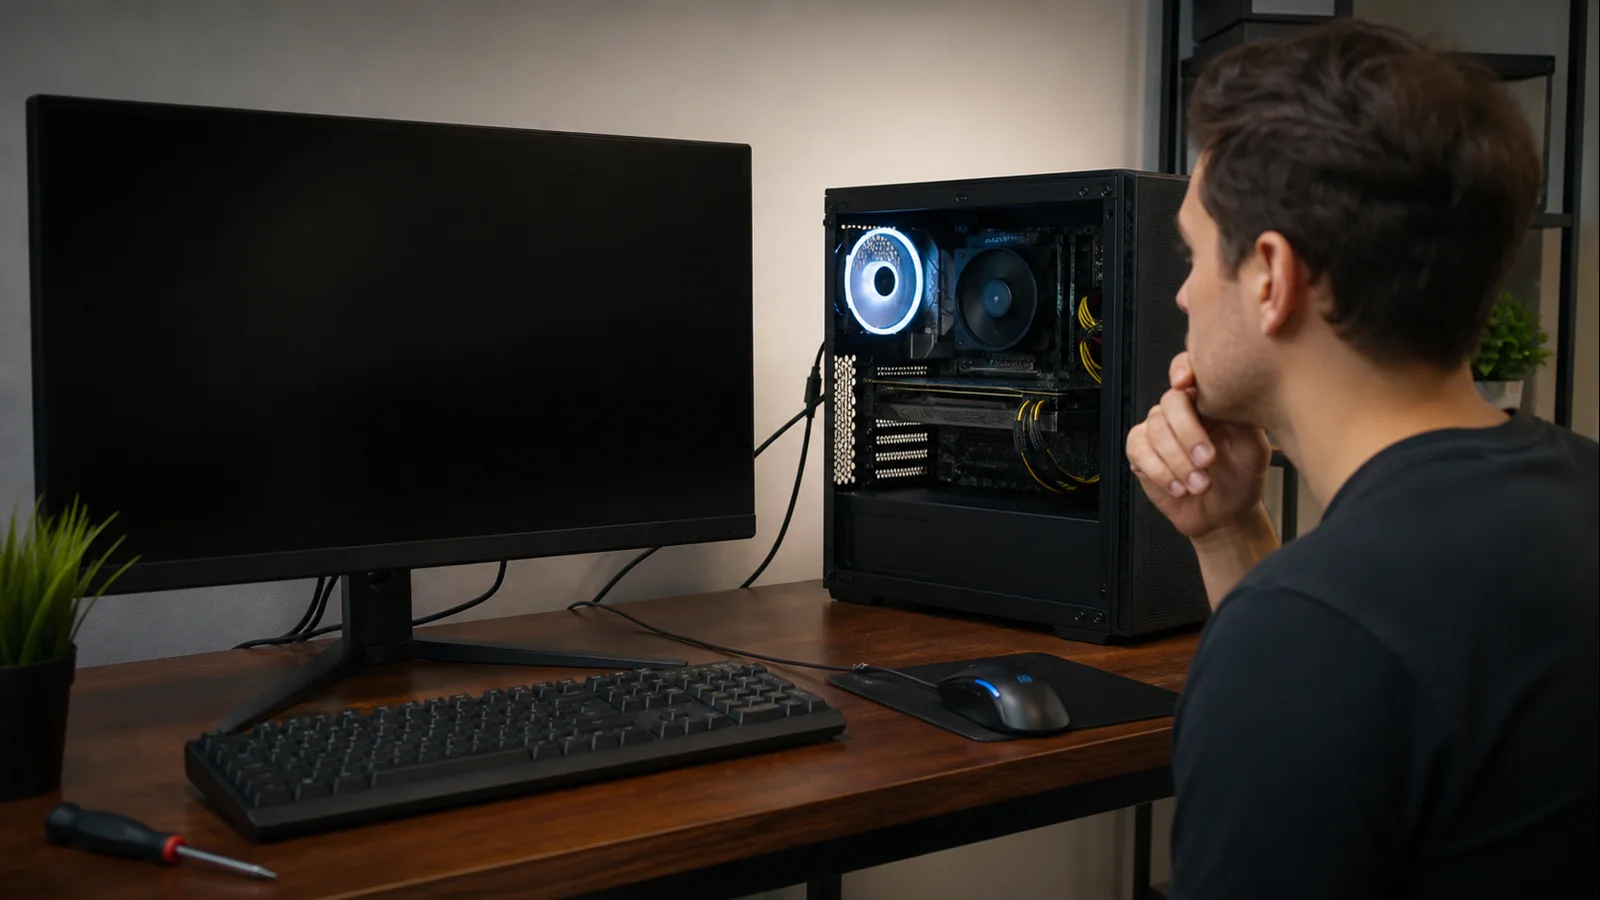
AI-created editorial illustration; not product photography or benchmark evidence.
Observe what survives the blackout
During the next failure, avoid immediately holding the power button. Listen for game audio, voice chat, Windows notification sounds, and fan behavior. Try Caps Lock and look for its keyboard light. Note whether the image returns on its own, whether the game closes, or whether the entire PC restarts.
These outcomes narrow the search:
- Audio continues and controls respond: focus first on the monitor, cable, port, display mode, and driver recovery.
- Audio loops or controls stop responding: the game, driver, or system may be frozen.
- The image returns after a few seconds: Windows may have reset the display driver.
- The PC restarts or powers off: investigate system stability and power delivery.
- Colored blocks or lines appear before signal loss: stop load testing and consider GPU or cable hardware faults.
Record the time of the event. After restarting, open Reliability Monitor and Event Viewer around that timestamp. A display-driver recovery is meaningful; a generic unexpected-shutdown event merely confirms that shutdown was not clean.
Build the lowest-bandwidth display test
Start with a display mode that almost any sound connection should carry: the monitor’s native resolution at 60 Hz, HDR off, variable refresh rate off, and 8-bit color if the control panel exposes color depth. Keep the game at stock settings and test the same repeatable scene.
If the signal remains stable, raise one display variable at a time. Try the normal refresh rate next, then variable refresh rate, then HDR or higher color depth. This identifies a bandwidth or mode interaction instead of vaguely blaming “high settings.” Rendering quality and link bandwidth are related only indirectly; a demanding game can also trigger mode-specific faults because it engages adaptive sync or changes fullscreen behavior.
If the monitor has an overclocked refresh option, leave it disabled until the standard advertised mode is stable. Remove adapters, docks, splitters, capture devices, and KVM switches for the baseline. Connect the GPU directly to the monitor.
Test the cable and ports without creating noise
Power down the PC and monitor. Reseat both ends of the cable, then test. If the problem repeats, try another GPU output of the same type. After that, try a known-good, appropriately rated cable. Change only one part between runs.
DisplayPort establishes a link through capability discovery and link training; a marginal path can therefore fail when the requested mode becomes harder to carry. A cable that works at 60 Hz is not automatically proven at a much higher refresh rate, HDR, or greater color depth. Use a certified cable of sensible length, avoid sharp bends, and do not stack passive adapters.
Cross-testing is especially valuable. Connect the PC to another known-good monitor or TV, or connect the original monitor to another capable source using the same target mode. Results divide responsibility:
- Failure follows the cable: replace the cable.
- Failure follows one GPU port: use another port and arrange service if the port is damaged.
- Failure follows the monitor across sources: reset or service the monitor.
- Failure follows the PC across displays: continue with driver, heat, power, and GPU checks.
Separate a driver reset from a link drop
Windows uses Timeout Detection and Recovery when the graphics stack appears stuck. Microsoft notes that recovery can produce a screen flicker while Windows resets graphics state. If the desktop returns or Event Viewer records a display-driver recovery at the same time, restore GPU settings to stock and reset the vendor control panel to defaults.
Then reinstall a stable official graphics driver. If the failure started immediately after an update, test the prior known-good release. Keep the cable, port, refresh rate, and game scene unchanged while comparing versions. That is stronger evidence than changing the driver and cable together.
Do not increase TDR registry delays. Microsoft documents those values for driver-development testing. They are not a repair for a failing link, unstable overclock, overheating card, or inadequate power path.
Check fullscreen, refresh, and variable refresh behavior
Test borderless windowed mode versus exclusive fullscreen if the game offers both. Confirm that Windows and the game request a refresh rate the monitor supports at the selected resolution. Remove custom resolutions during diagnosis.
Next, test variable refresh rate as the only change. If disabling it stops the issue, update monitor firmware if the manufacturer provides an applicable update, reset the monitor’s on-screen settings, and verify the supported adaptive-sync range. A stable fixed-refresh result is a workaround, not proof that the GPU is defective.
Avoid randomly combining control-panel V-Sync, an in-game limiter, external limiters, and multiple low-latency options. Return them to defaults first. Add one feature only after the display path survives the repeatable load.
Inspect load-dependent temperature and power
If signal loss tracks GPU load rather than display mode, monitor GPU temperature, hotspot if exposed, clock, and board power. Use a brief repeatable test and stop if temperature rises uncontrollably, fans fail, or artifacts appear. Follow safe steps to lower GPU temperature if airflow or cooling is clearly involved.
An instant reboot or total power loss needs a power branch. Shut down, switch off, and unplug the PC before checking external GPU power plugs. Verify they are fully seated and not scorched. Review connector guidance for the specific card and PSU; do not mix modular power cables from different PSU models. If the supply may be undersized, calculate needs using this PSU wattage selection guide rather than relying only on the number printed on an old unit.
Never open the power supply or monitor enclosure. Both can retain dangerous voltage.
Use a clean confirmation order
A useful test sequence is deliberately boring:
- Native resolution, 60 Hz, HDR and variable refresh off.
- Same setup with the normal high refresh rate.
- Same mode through another GPU port.
- Same port with a known-good certified cable.
- Same cable and mode on another display.
- Stock GPU settings with a stable official driver.
Log pass or fail and the time to failure. One change per row gives you an interpretable result. Do not run repeated stress tests after a hard shutdown, visible artifacting, connector heat, or electrical smell.
When this is actually a no-signal boot problem
If the display never shows the motherboard logo or firmware screen, stop treating it as a gaming-only fault. Confirm the cable is attached to the discrete GPU rather than an inactive motherboard output, choose the correct monitor input, and inspect the motherboard’s diagnostic indicators. Then use the GPU not detected troubleshooting path for seating and enumeration checks.
That distinction matters: lowering refresh rate inside Windows cannot fix a machine that never produces a startup display signal.
Stop and request service when risk rises
Arrange qualified service if signal loss occurs on multiple known-good displays and cables at stock settings, the GPU output connector is loose or damaged, artifacts appear before Windows loads, or the PC repeatedly shuts off under load. Stop immediately for smoke, sparks, melting, discoloration, or a burning odor. Unplug the system and leave the suspect part unused.
Bring your test log, photos of connector condition, driver version, display mode, and failure timestamps. A short matrix that shows the fault following one port, monitor, or PC is actionable evidence.
Official references
- Microsoft: WDDM Timeout Detection and Recovery
- VESA: DisplayPort link training and transport overview
Top picks from this guide
 AOCAOC 24 Inch Gaming Monitor FHD 144Hz Fast IPS 0.5ms…$90 \xc2\xb7 99/100
 SamsungSamsung 27" Odyssey G5 (G51F) Series QHD (1440P) Gaming Monitor…$225 \xc2\xb7 96/100
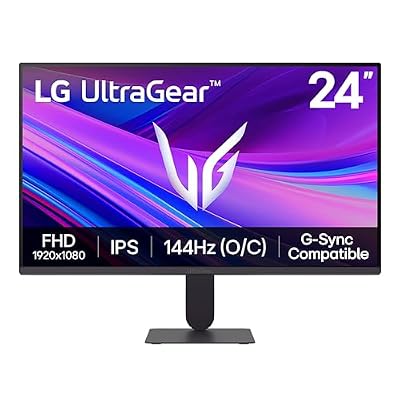 LGLG 24G411A-B 24-inch Ultragear Full HD (1920 x 1080) IPS…$100 \xc2\xb7 95/100
 SceptreSceptre Curved 24.5-inch Prime Gaming Monitor up to 240Hz 1080p…$110 \xc2\xb7 95/100